Sunriver Remodel Siding & Windows being installed
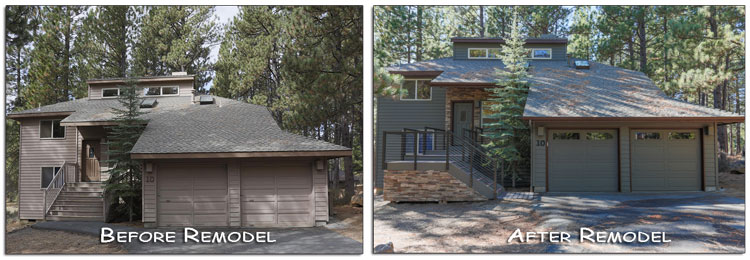
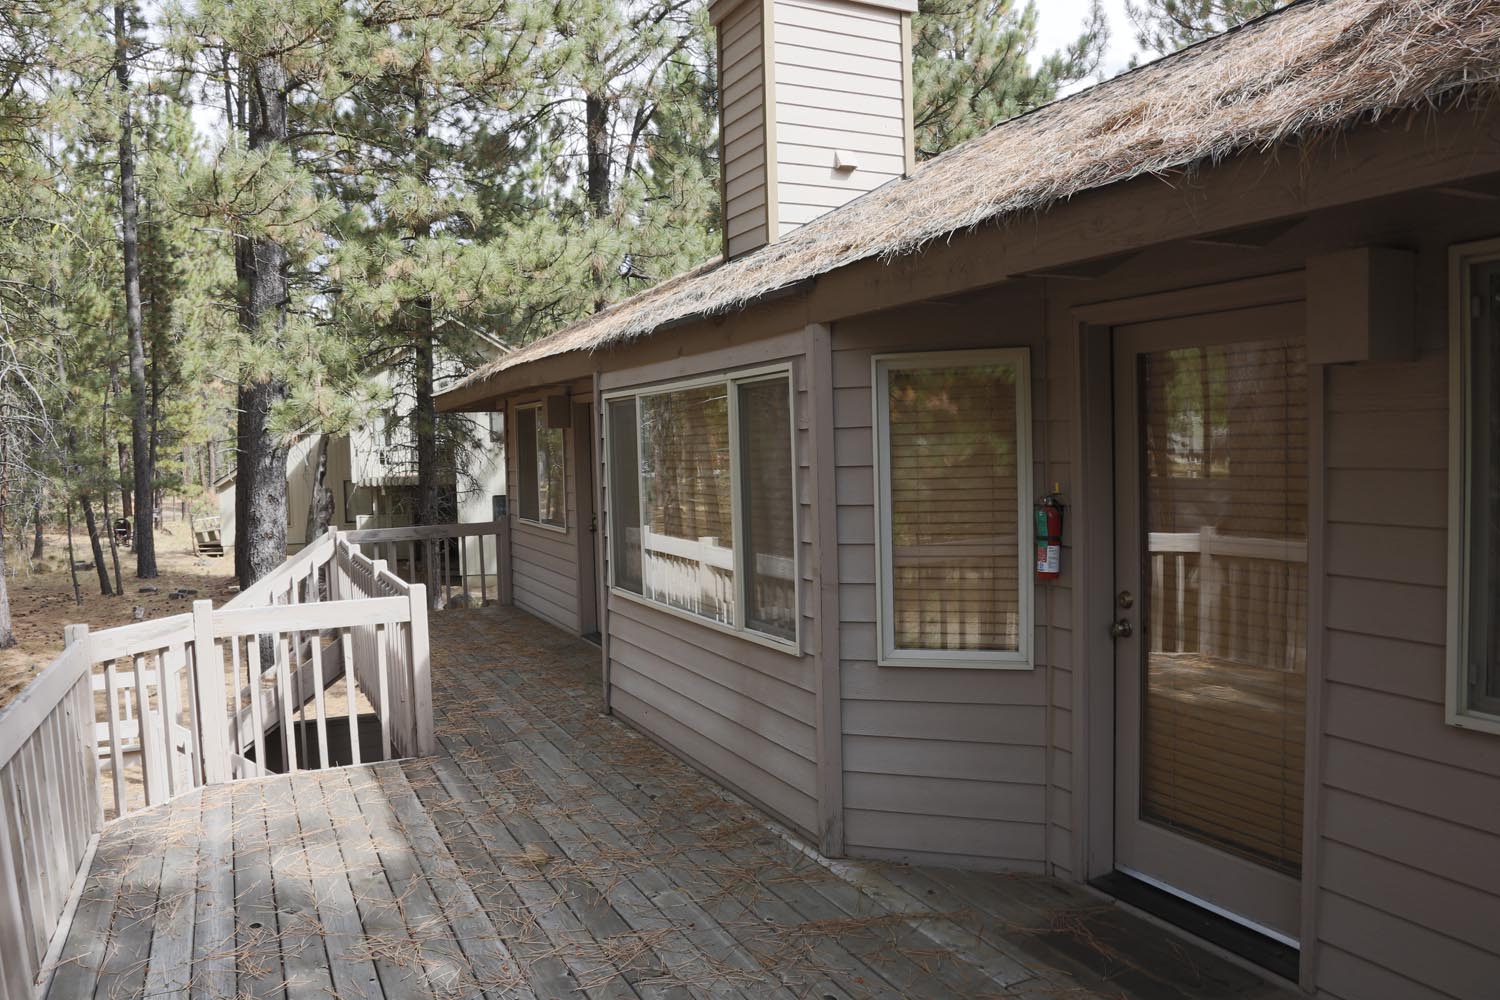
In just two weeks we have removed all the old siding at 28 Tokatee, our Sunriver Remodel where we have siding & windows being installed. The home is over 30 years old with rather outdated building techniques. The owner has asked us to update the house with new siding and new windows. This remodel will be very similar to the one we did at 5 Cherrywood several months ago.
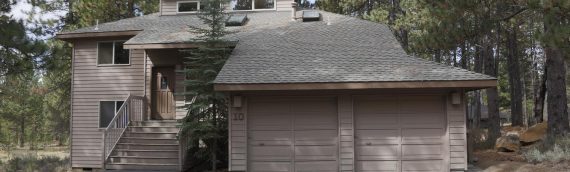
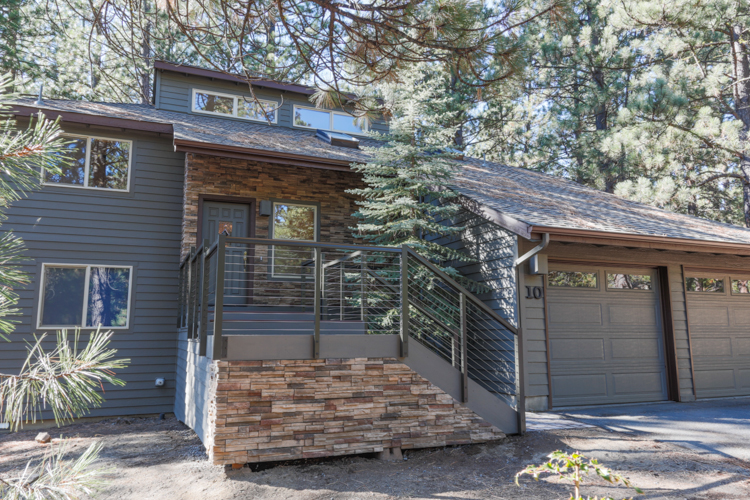
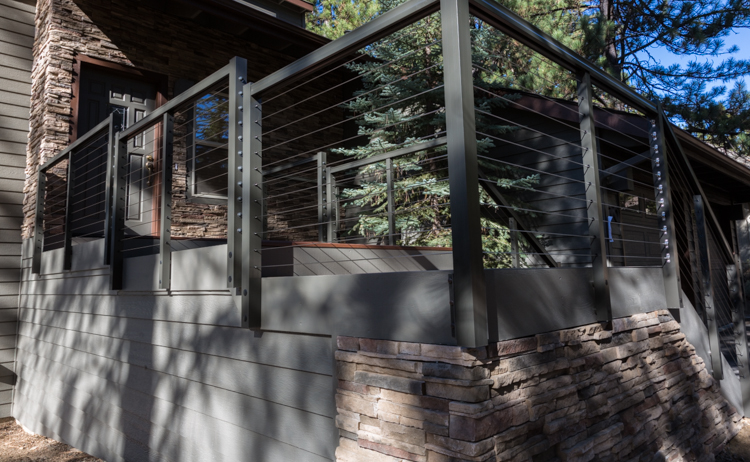
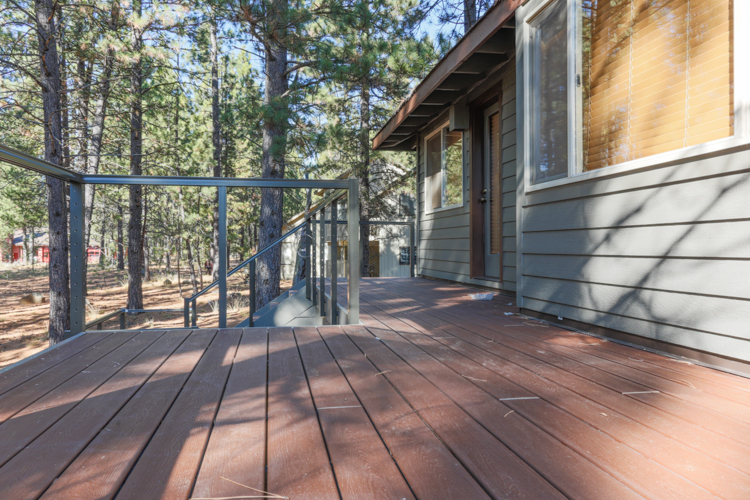
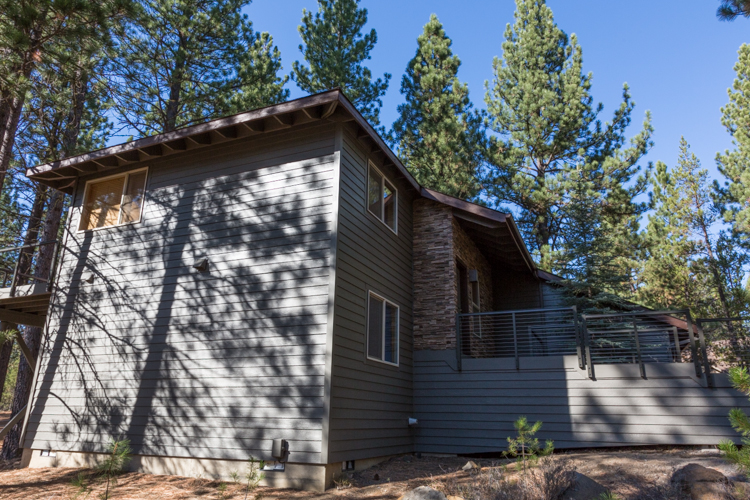
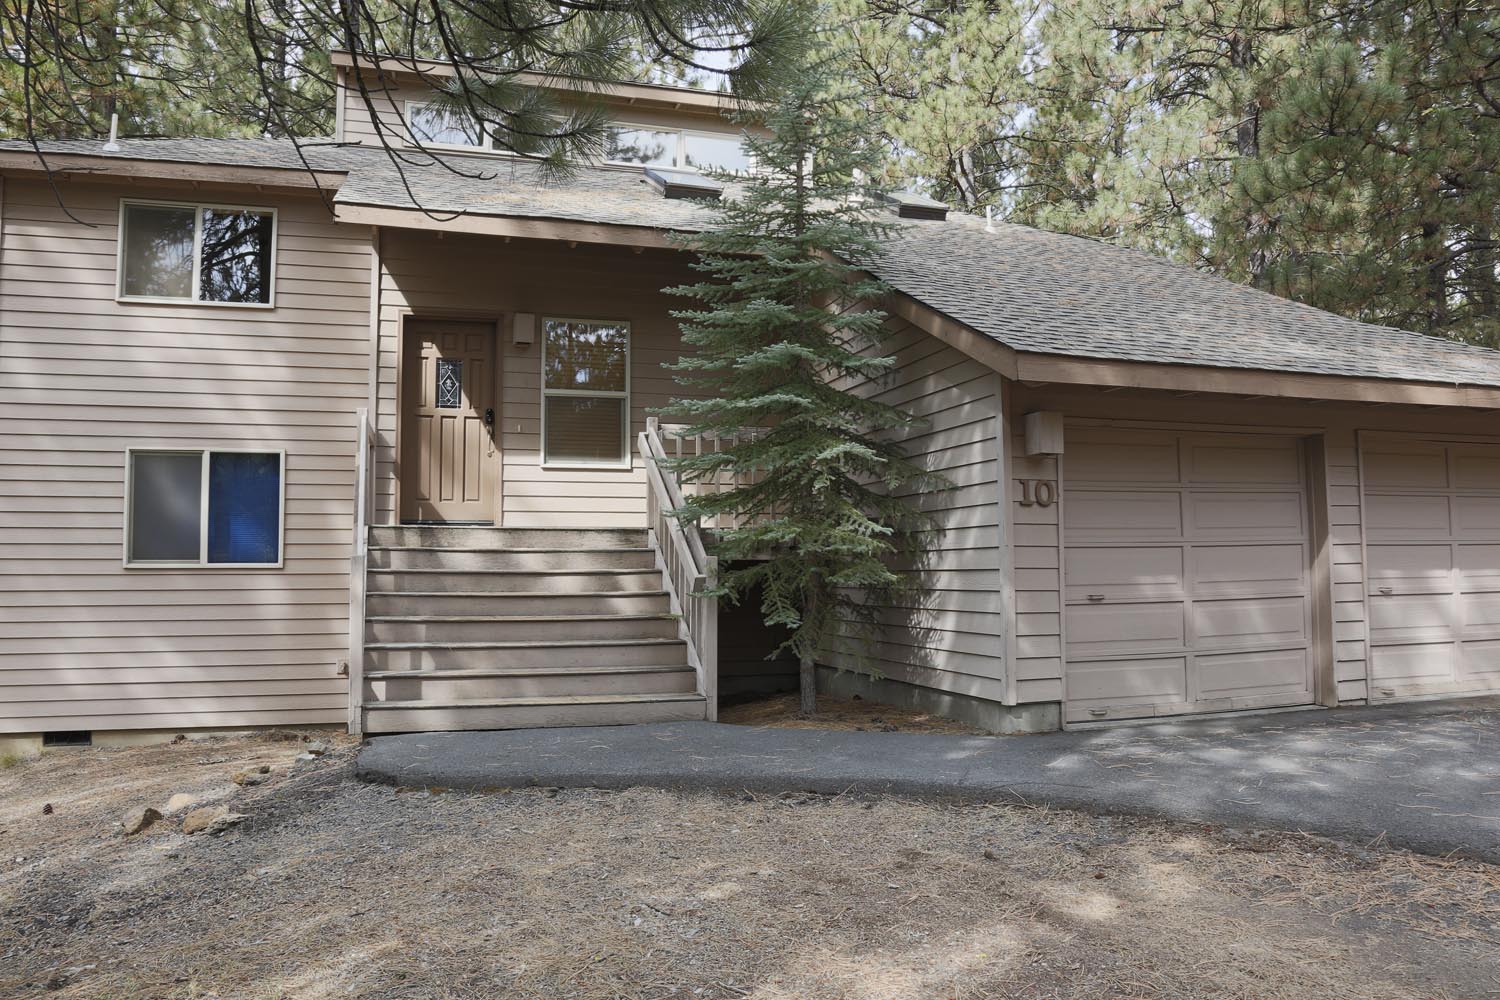
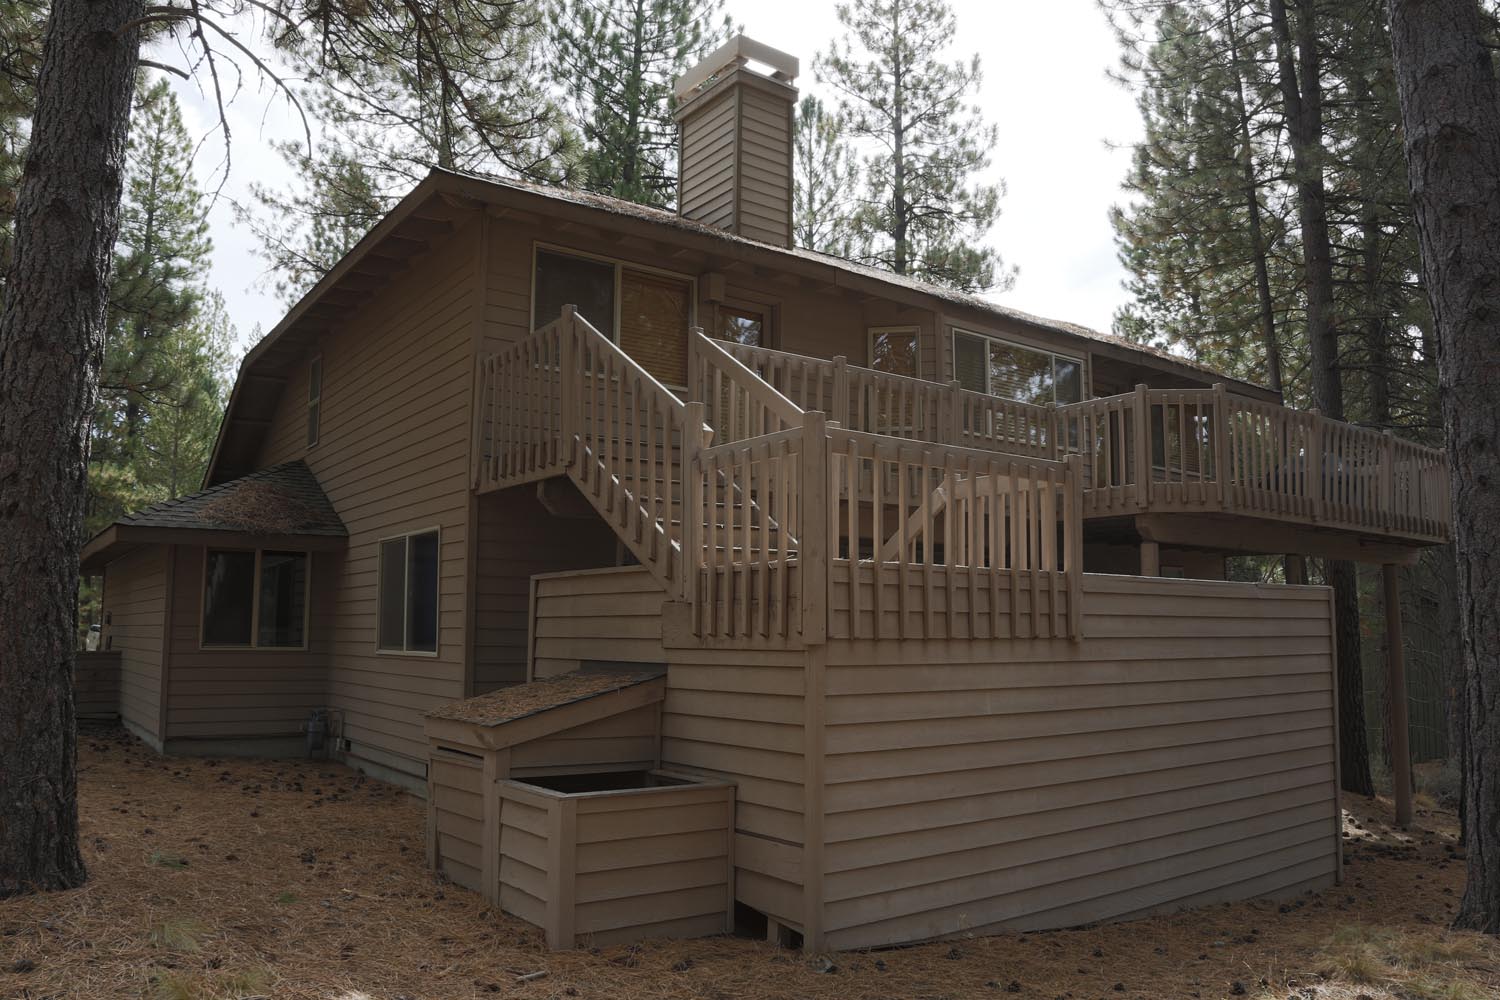
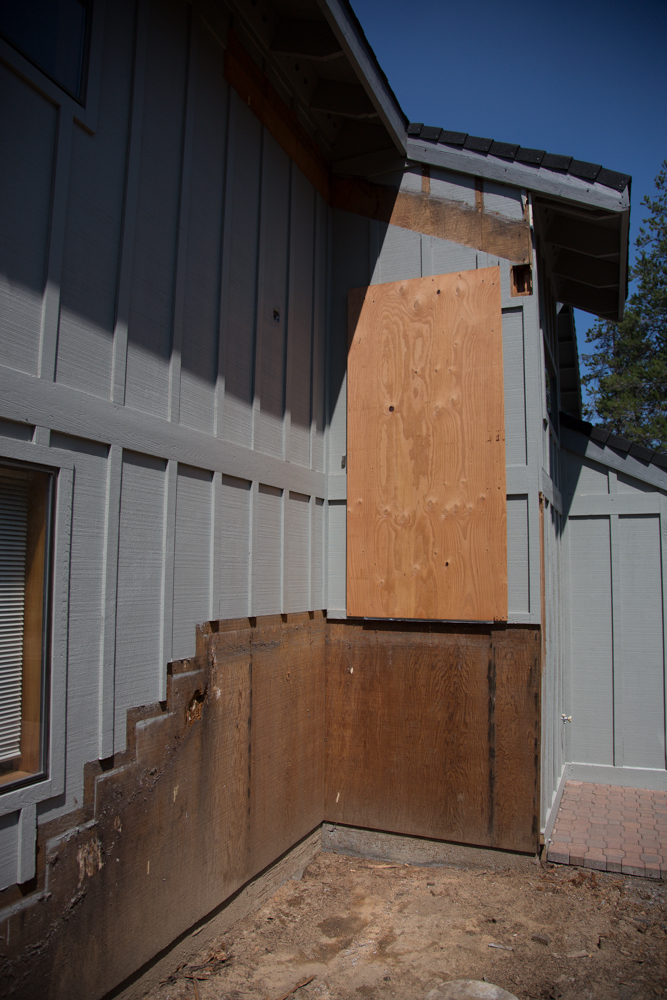
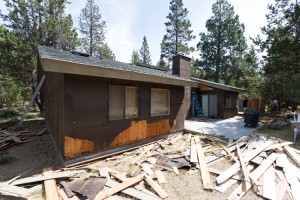
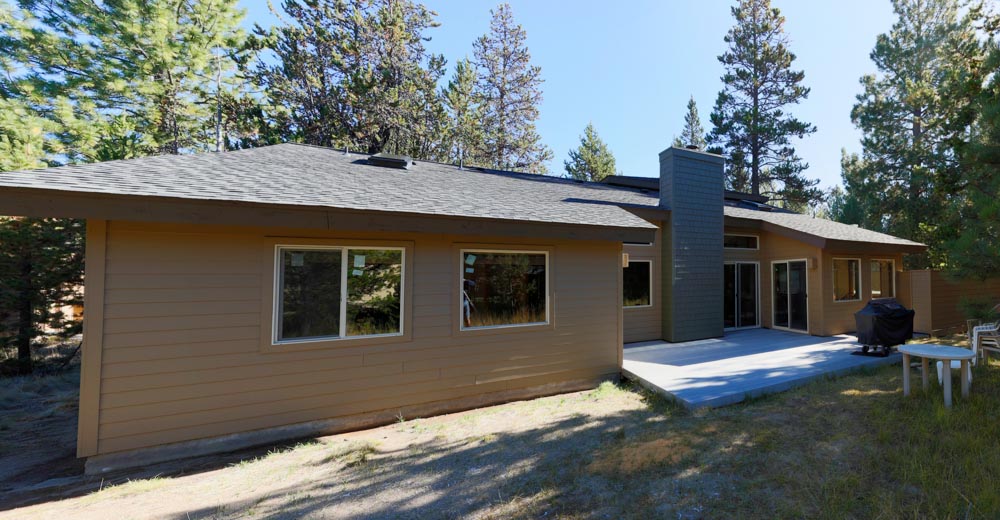
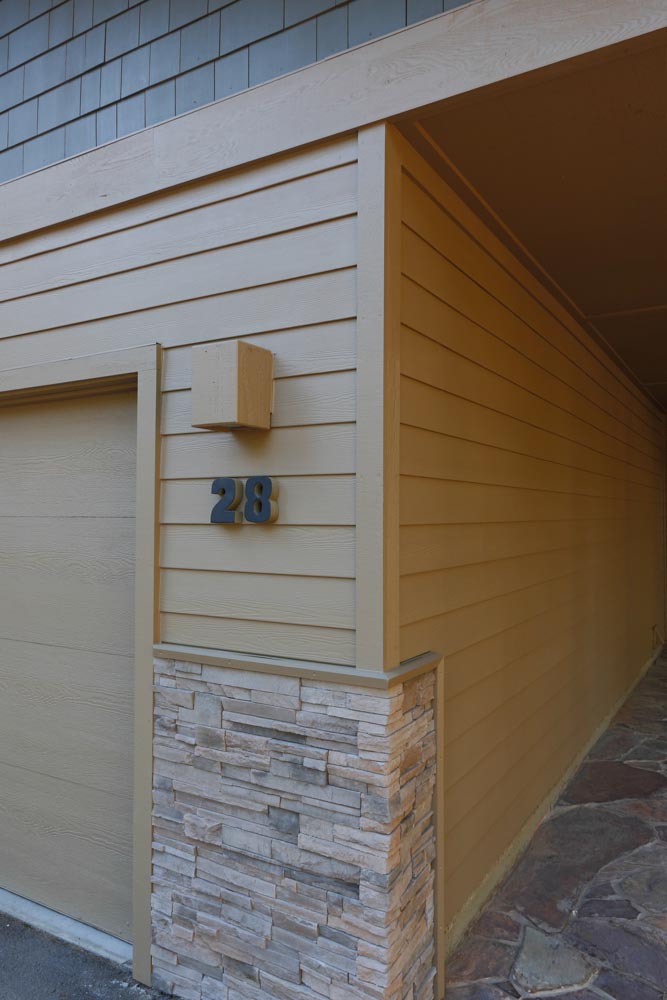
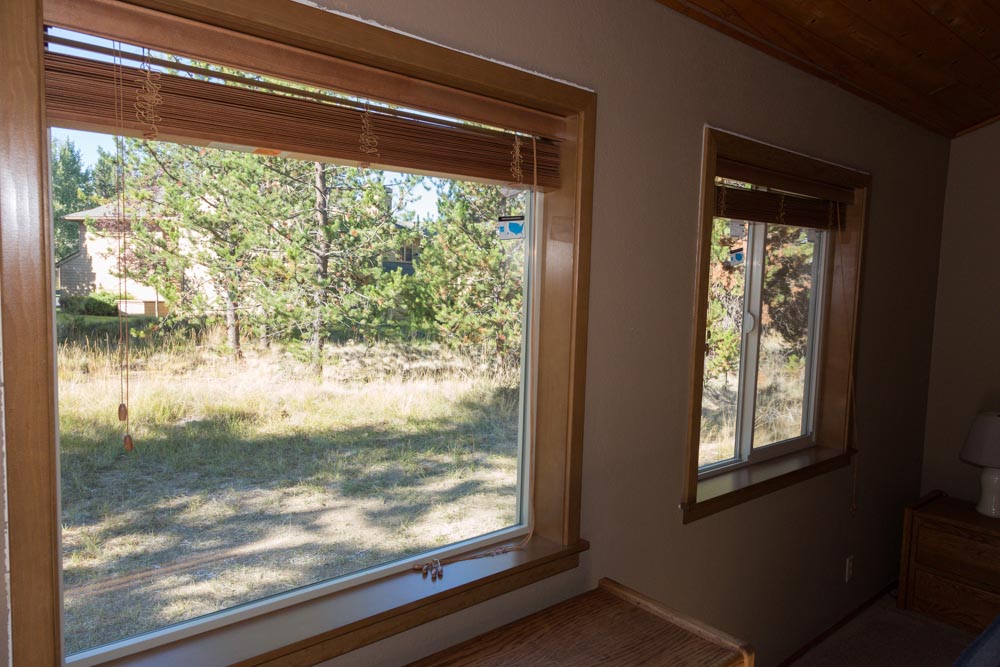
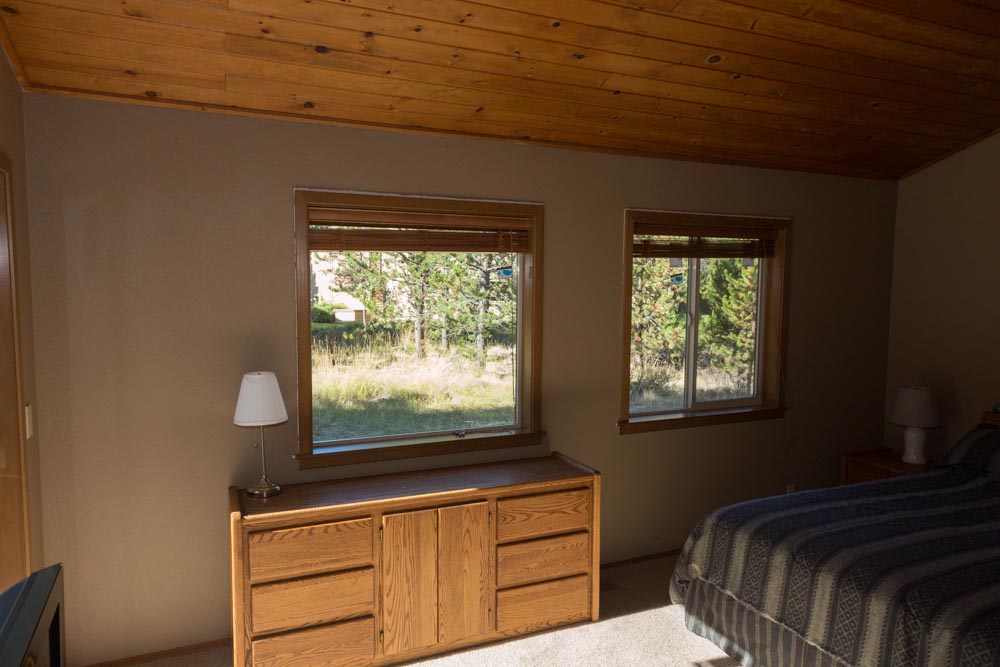
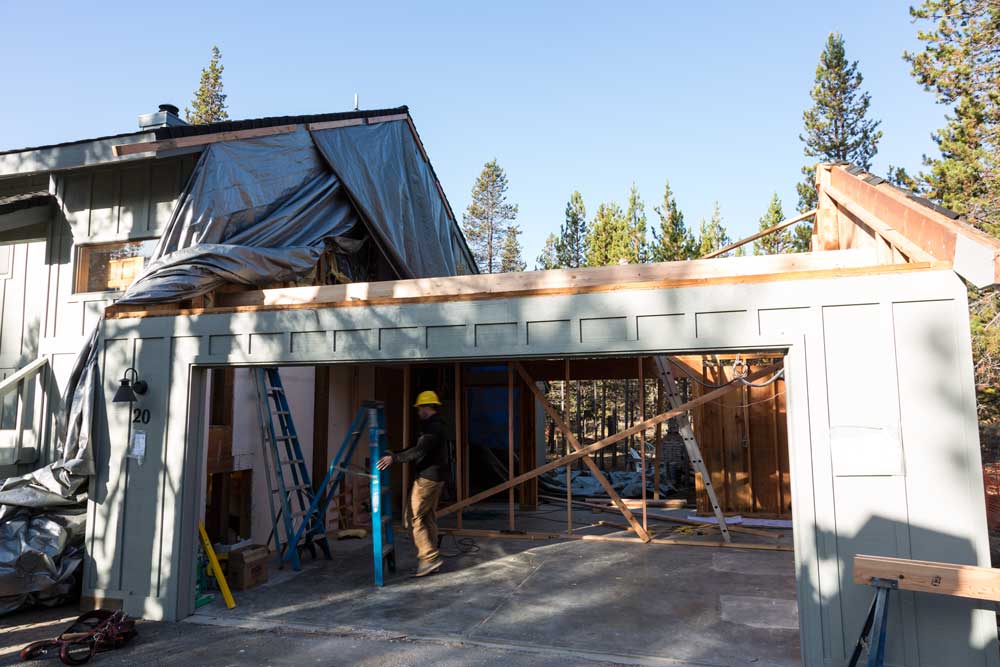
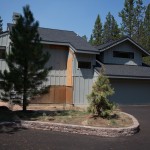
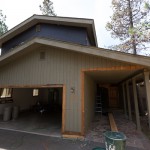
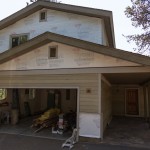
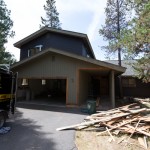
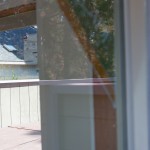
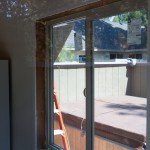
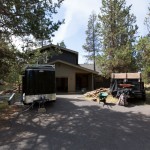
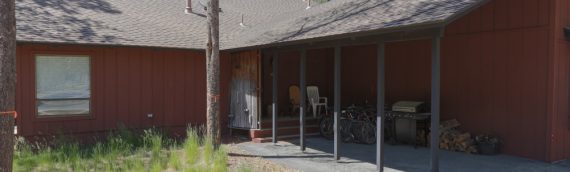
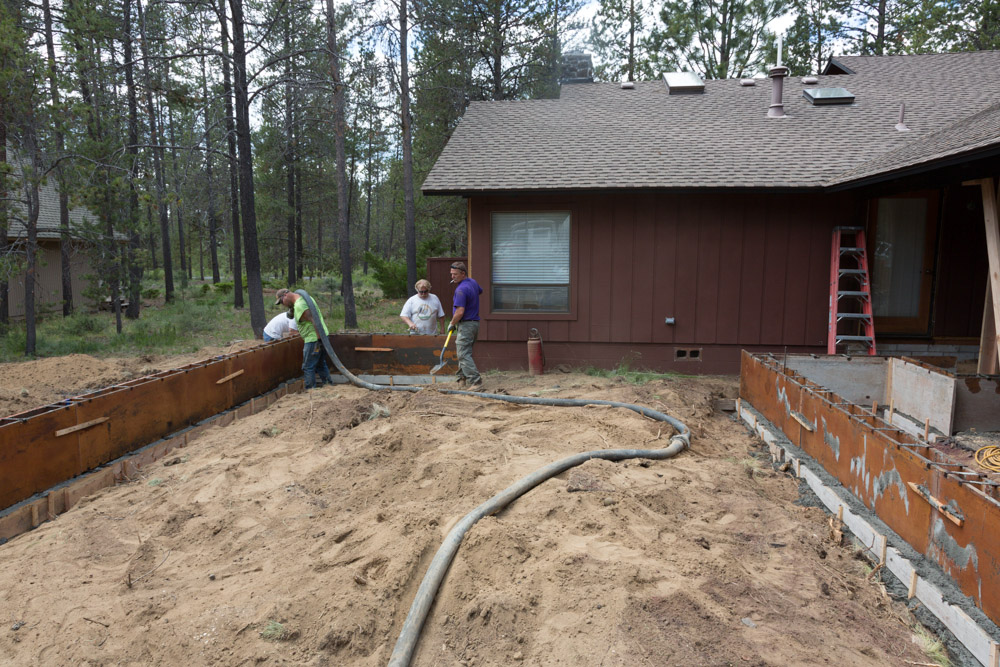
28 Tokatee – Sunriver Remodel
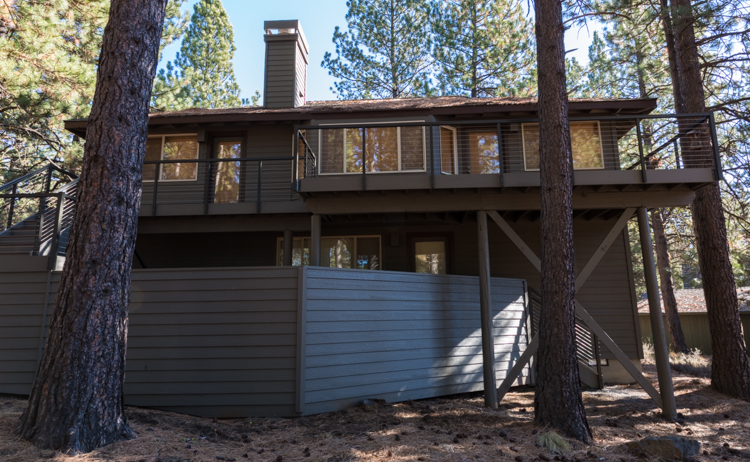
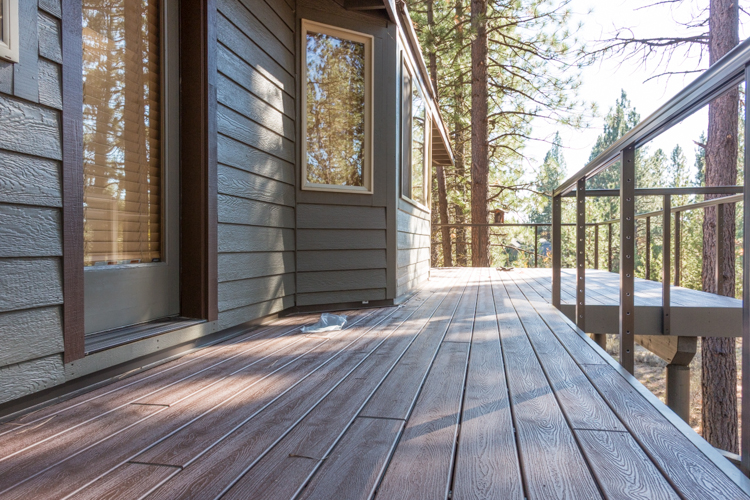
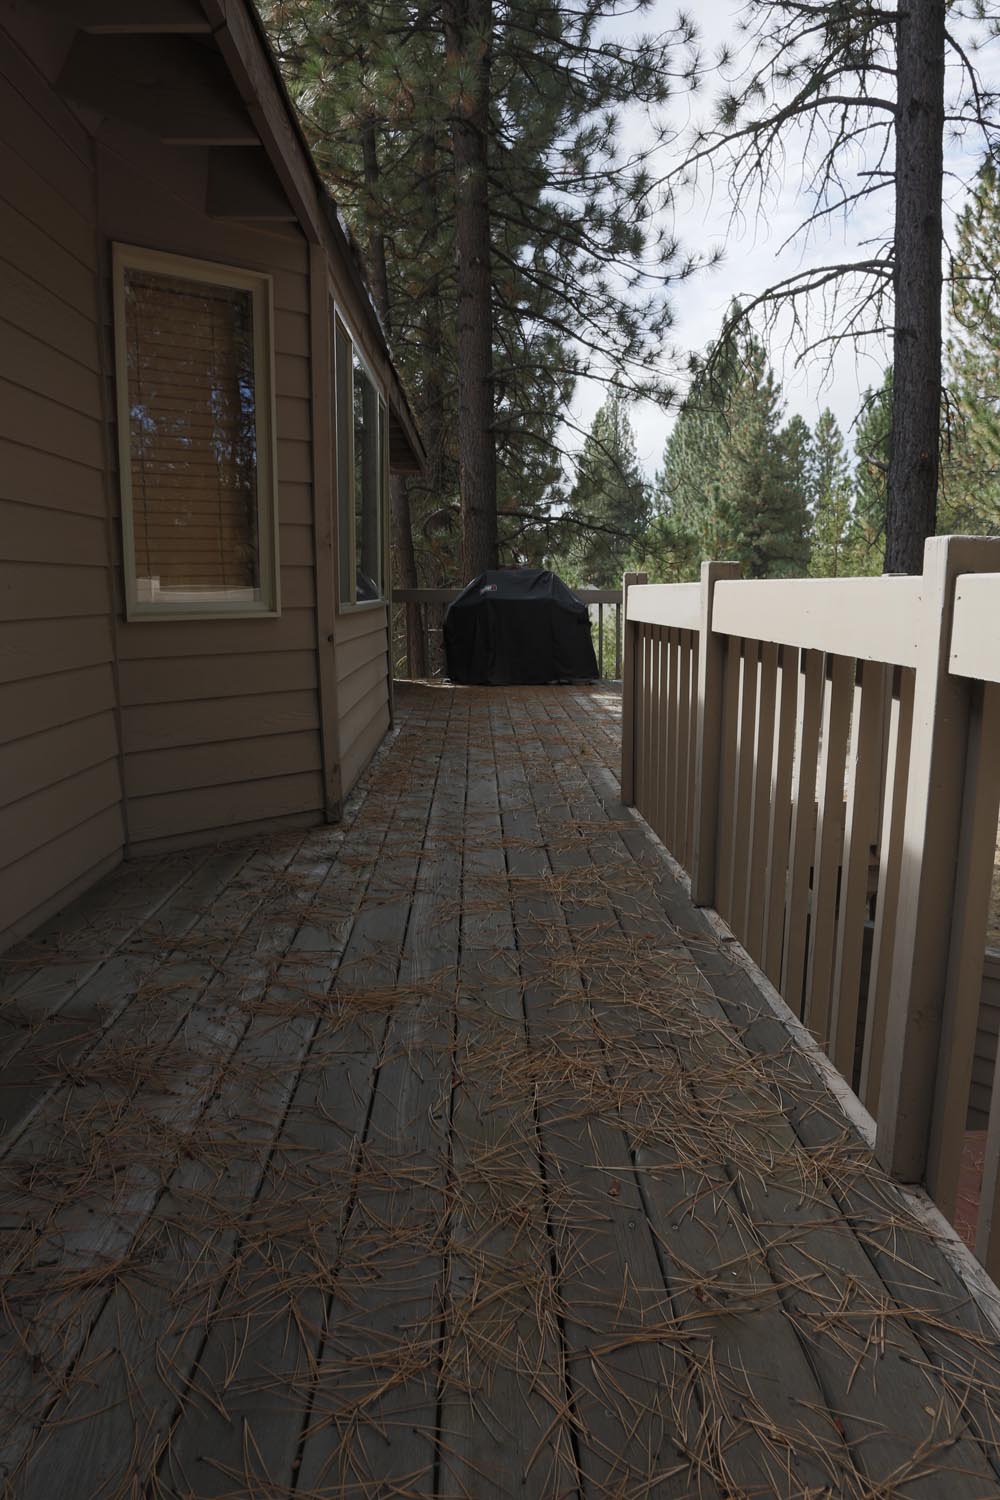
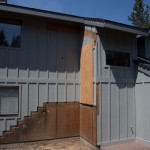
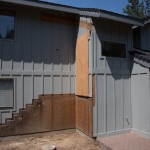
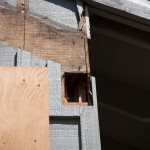
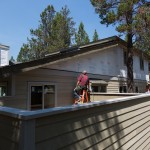
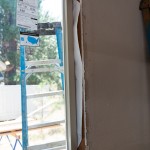
This is a before photo. Here we are removing the siding.
According to Remodeling Magazine (www.remodelingmagazine.com) siding replacement recouped 92.8 percent of its cost, according to the study. The only home improvement likely to return more at resale was a minor (roughly $15,000) kitchen remodel, which returned 92.9 percent. Replacing roofs and windows were also high on the list, returning 80 percent or more at resale.
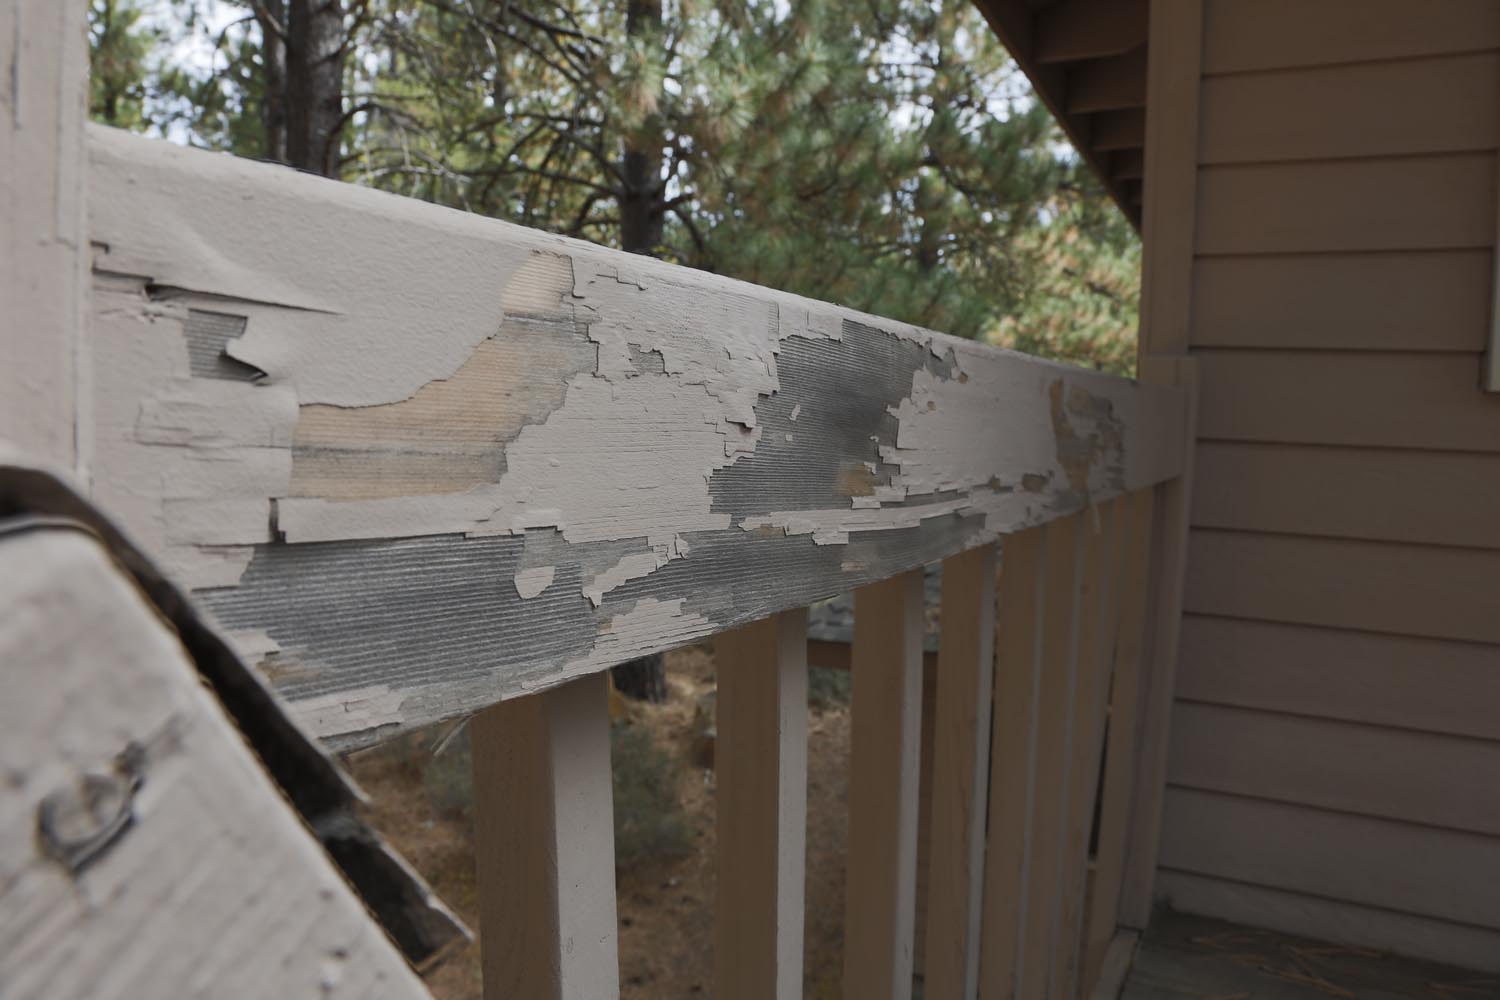
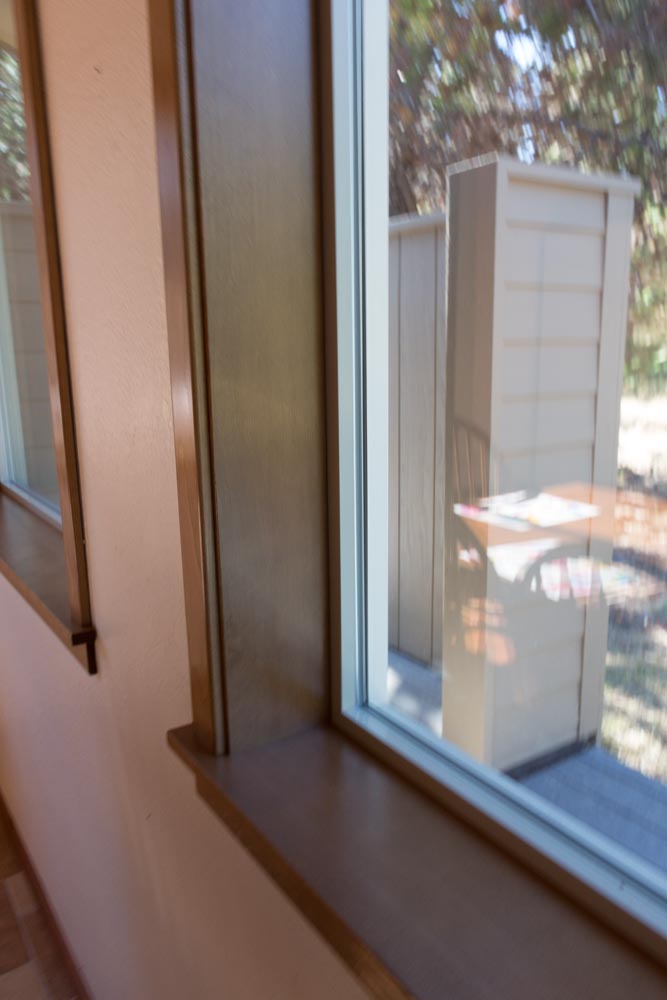
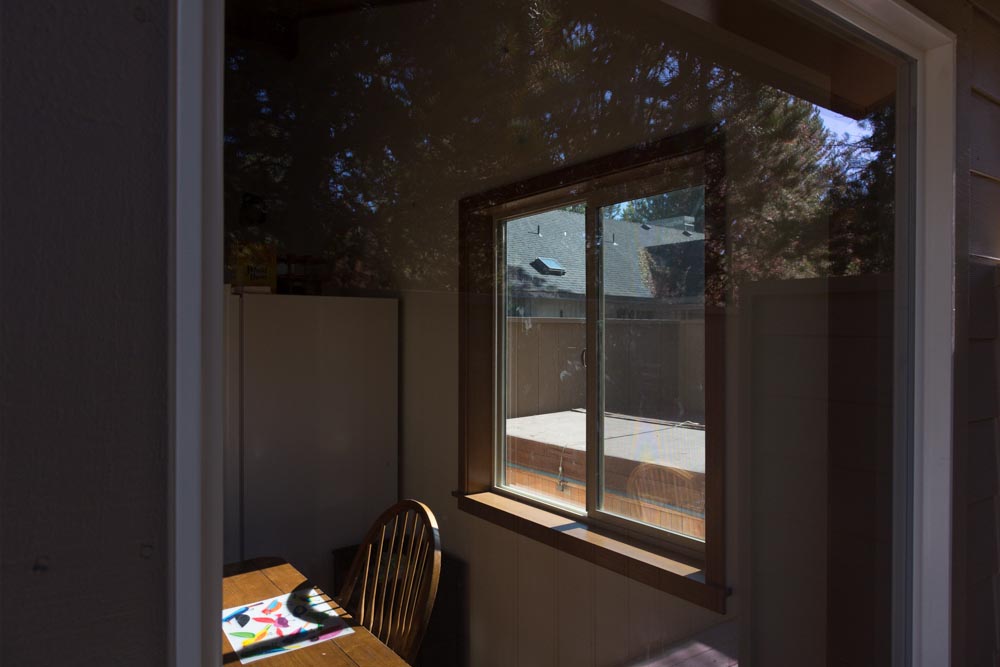
We’re seeing alot of Siding and Window remodels in Sunriver. It’s easy to understand as most of these homes approach 30 years in age. With our harsh weather conditions the siding takes a beating, even with proper maintenance and painting. And the technology in windows has changed so much in 30 years.
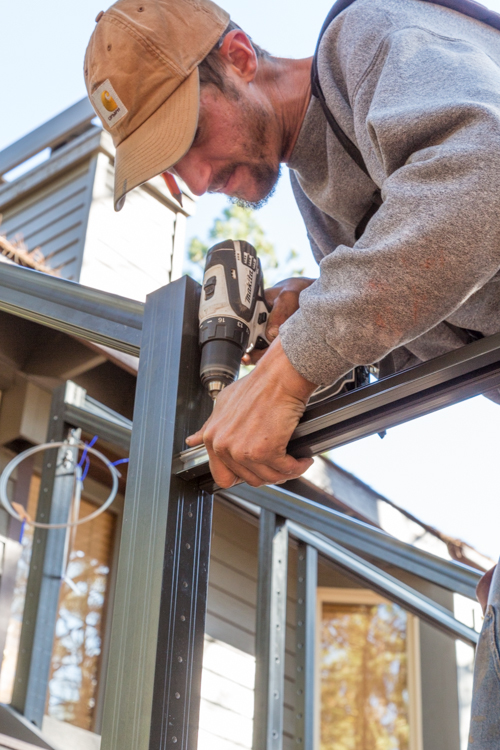
The installation of the siding and the windows is pretty straight forward. We always remove the old siding as covering up the old problem is rarely recommended. The way to do a job right is to remove the old siding entirely. This allows the new siding to be installed as if it were your original exterior.
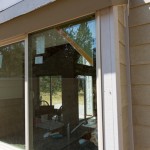
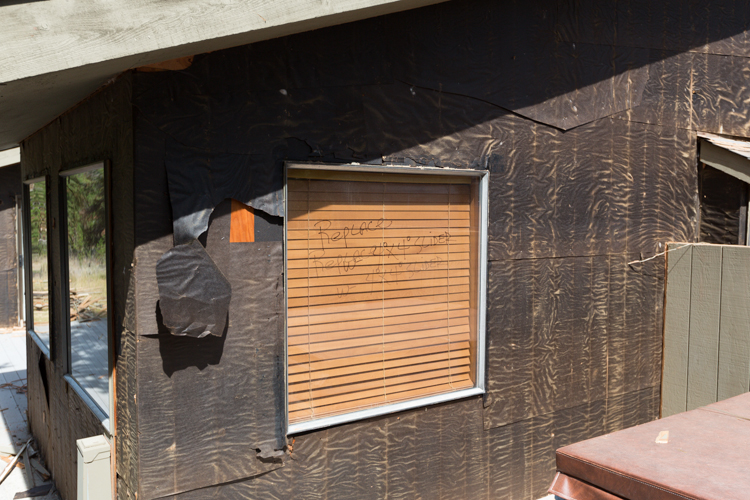
Before the new exterior siding is applied, the existing structure should be inspected for moisture damage, mold, termites or rot.

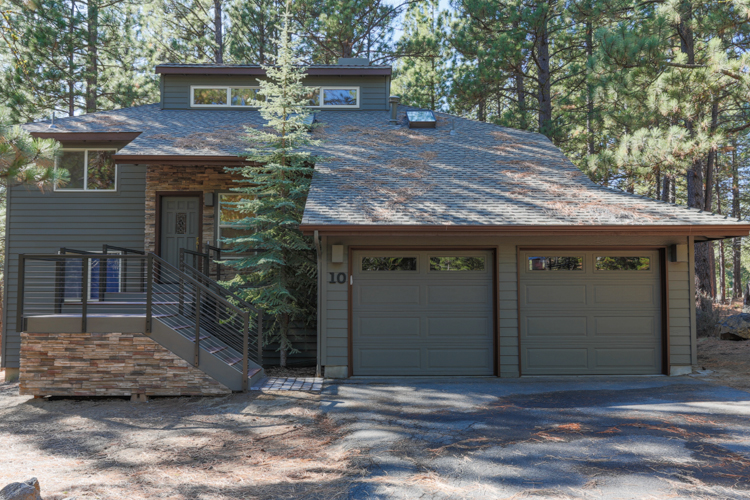
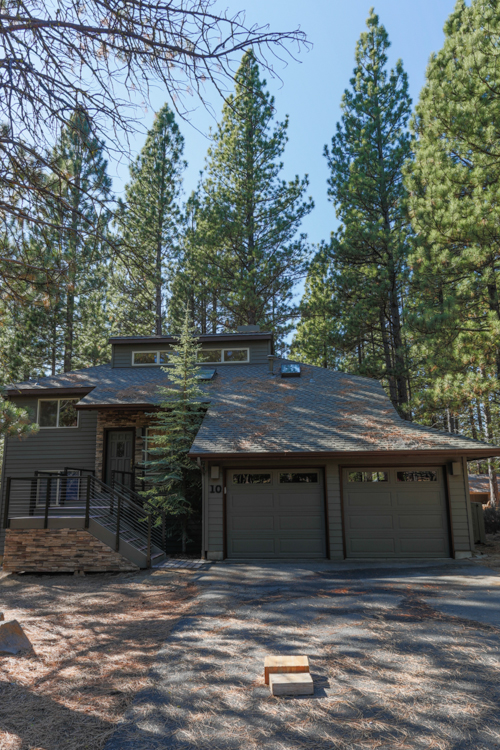
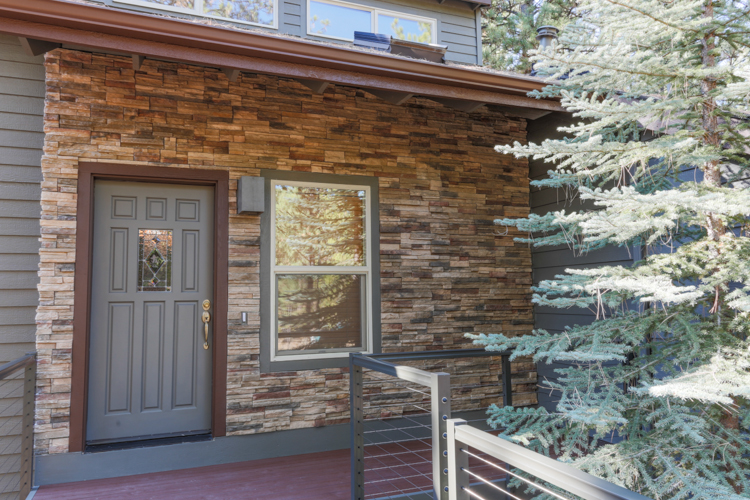
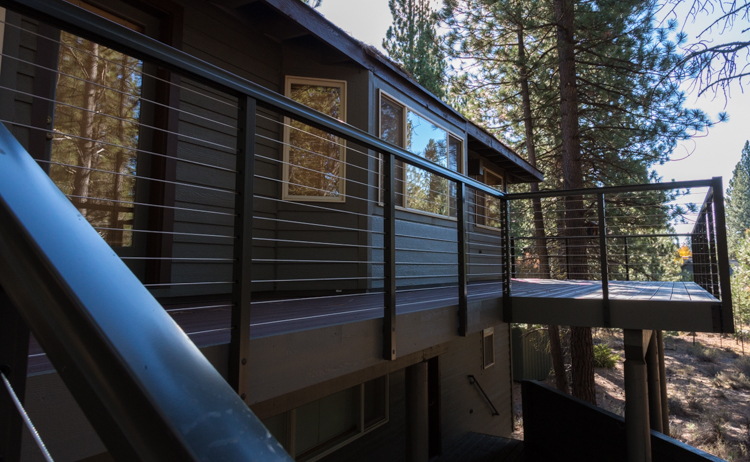
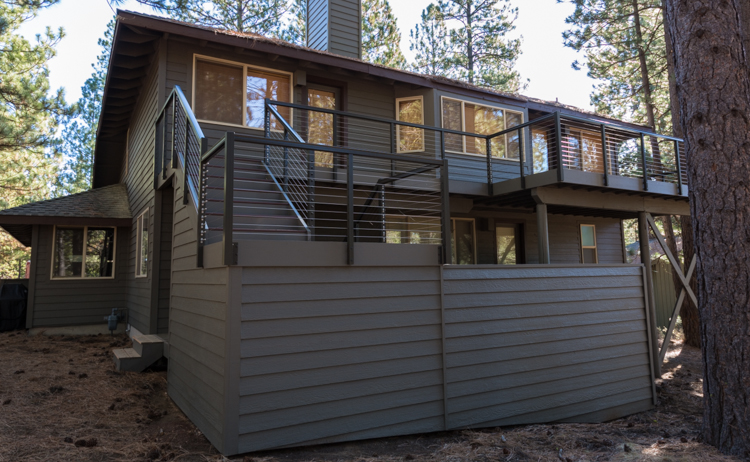
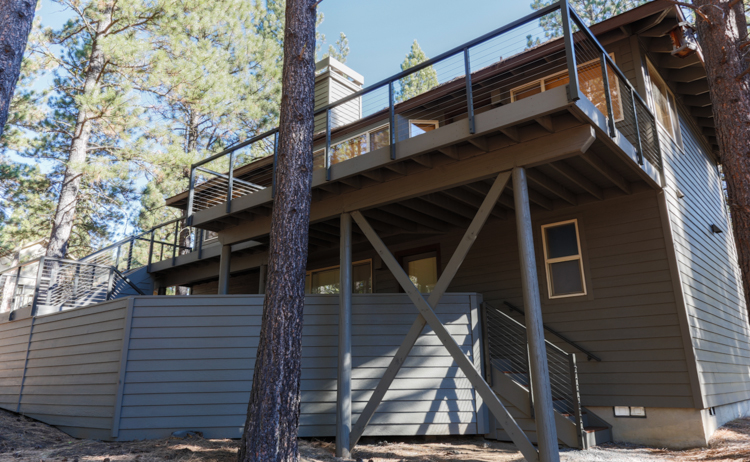
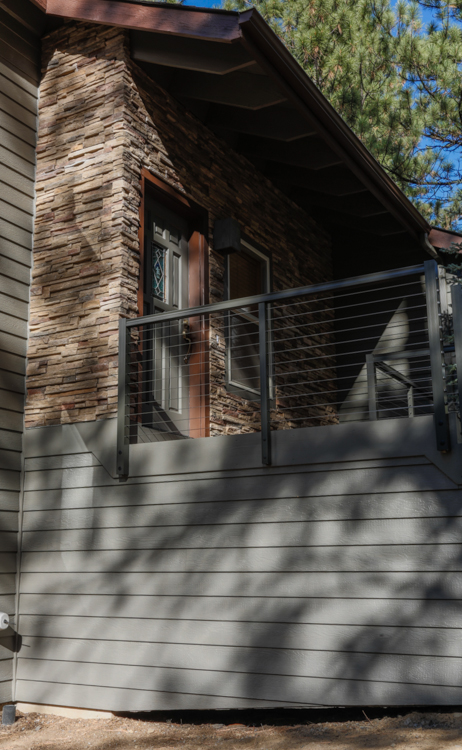
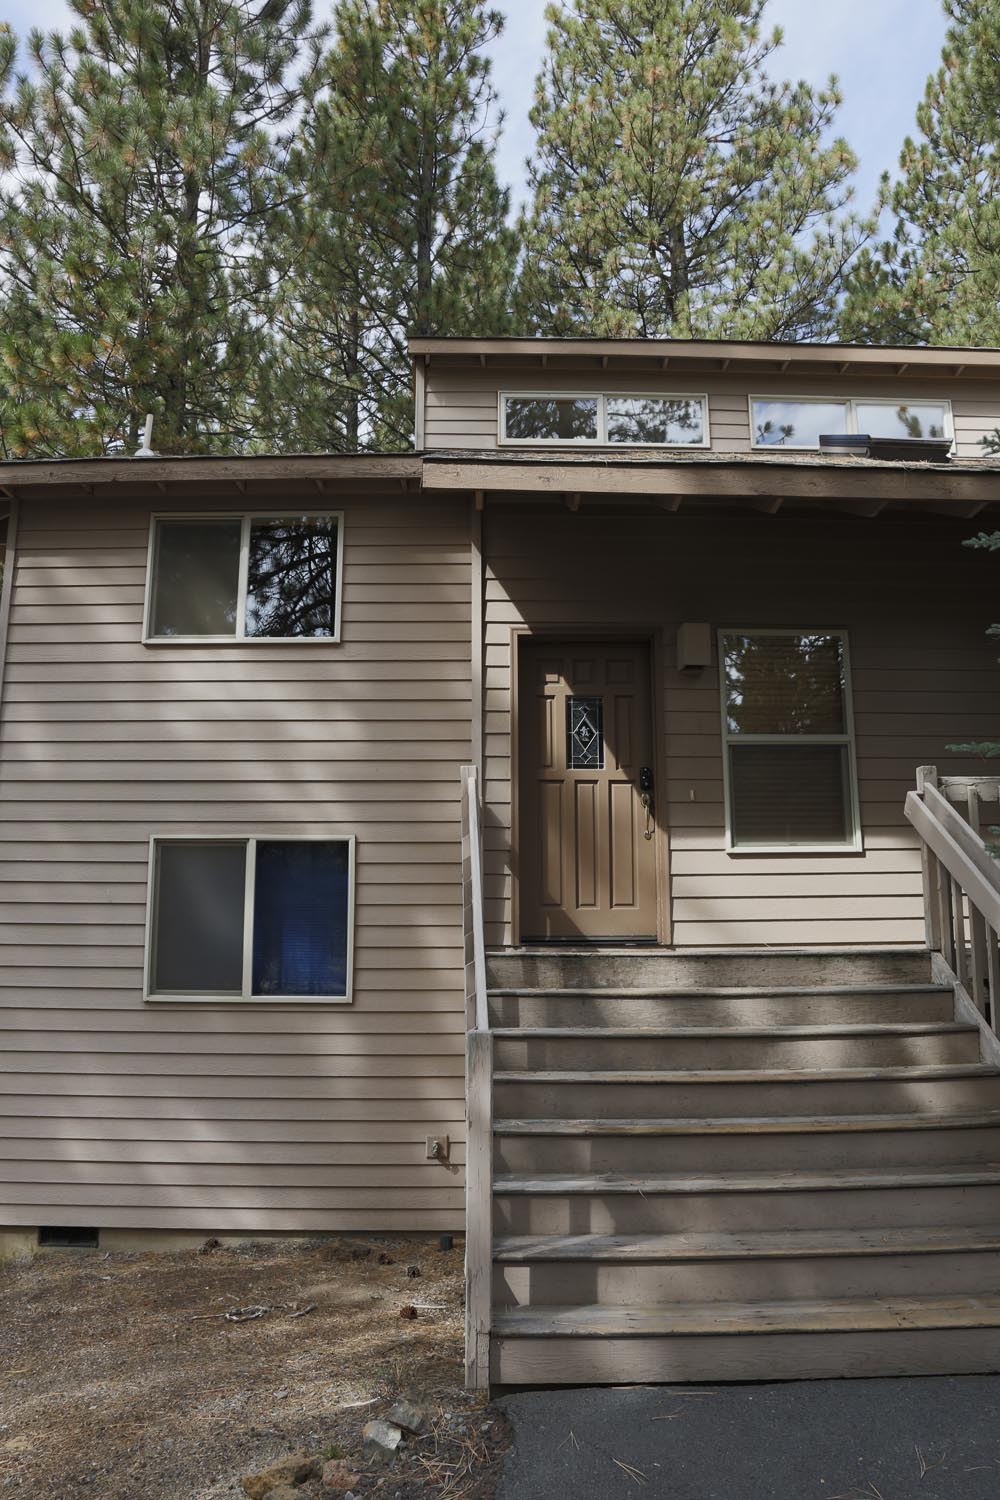
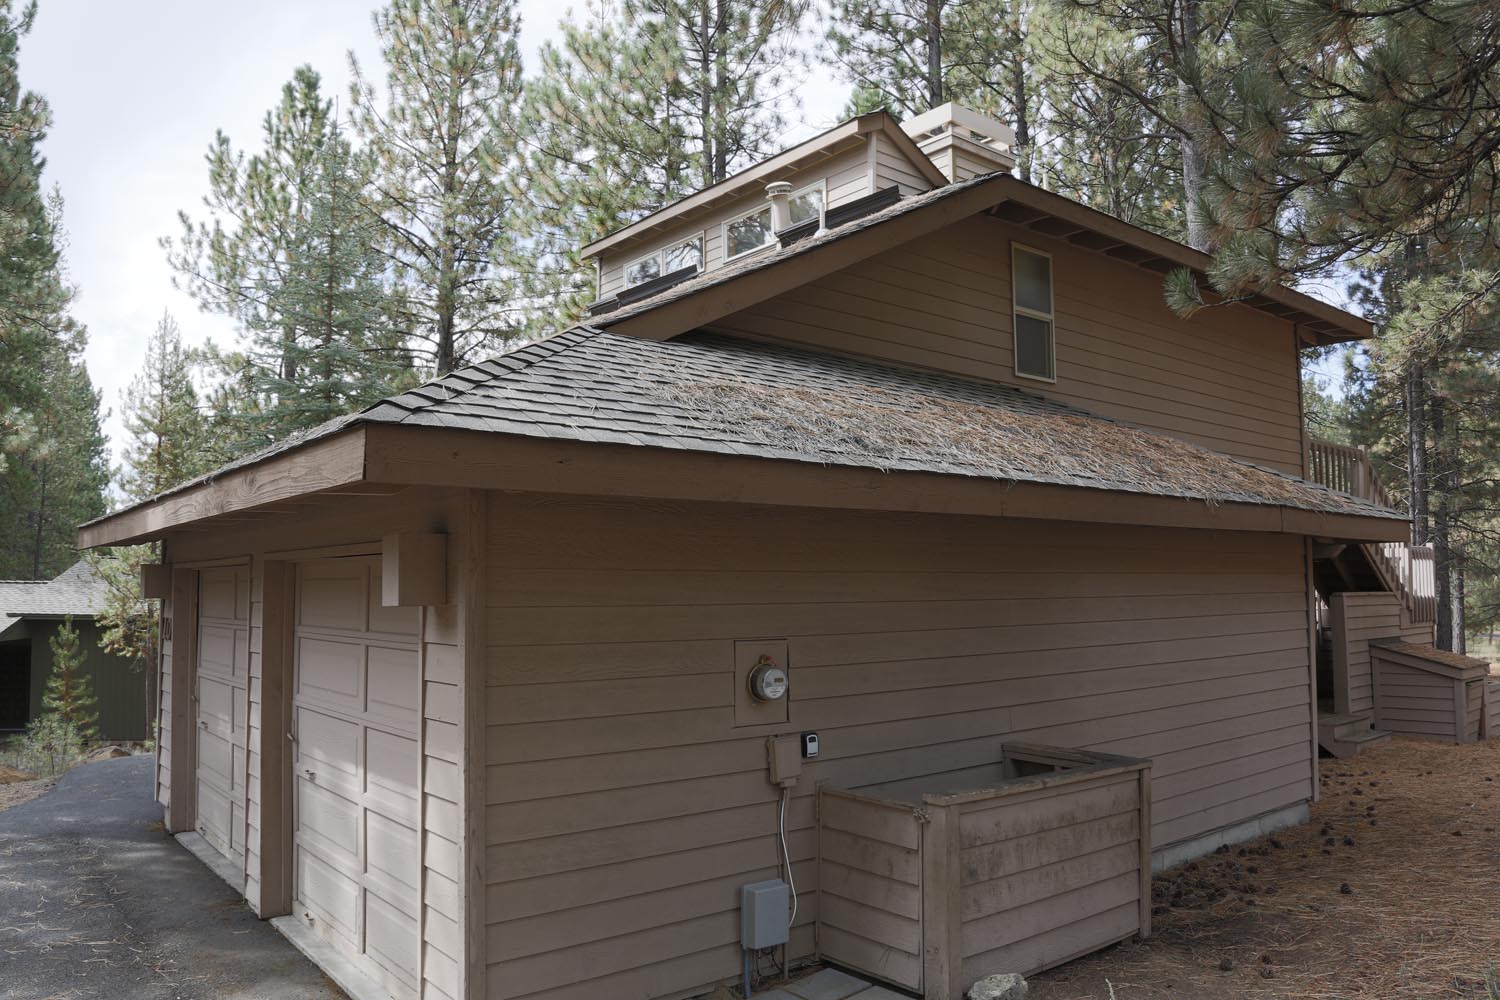
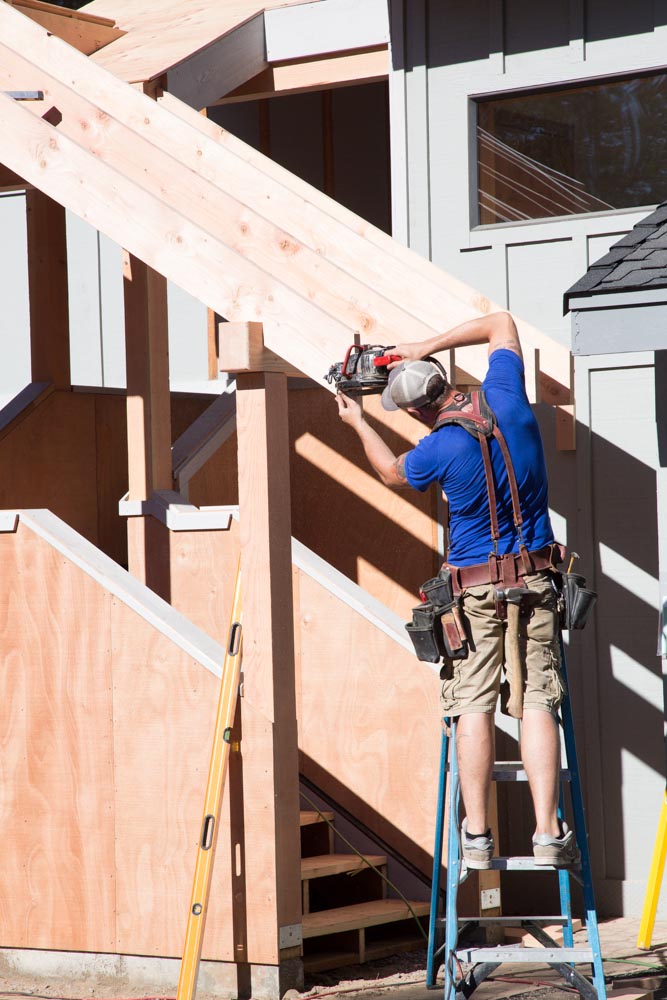
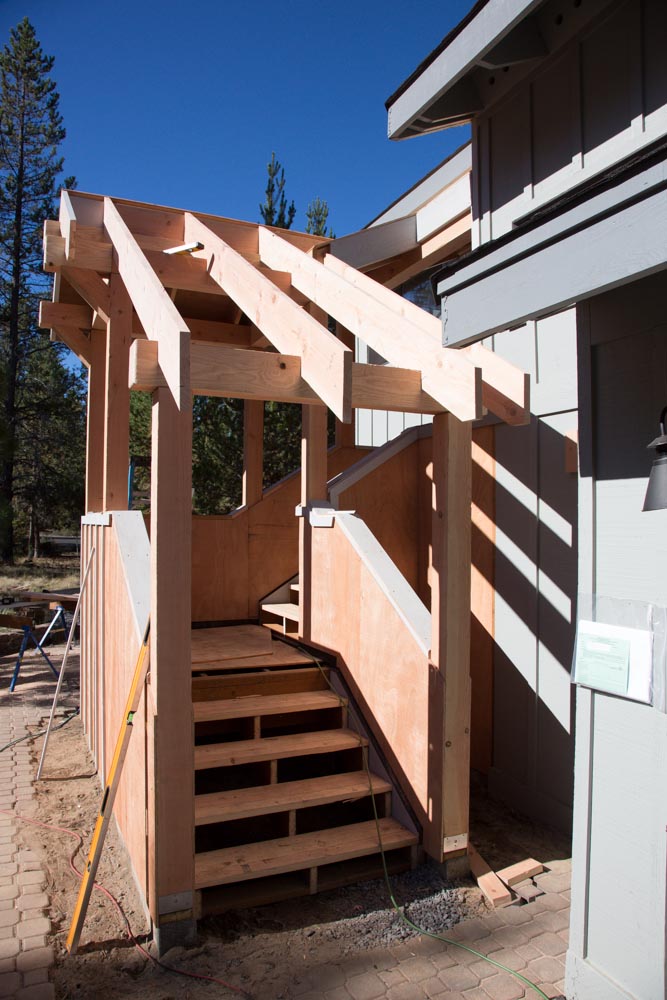
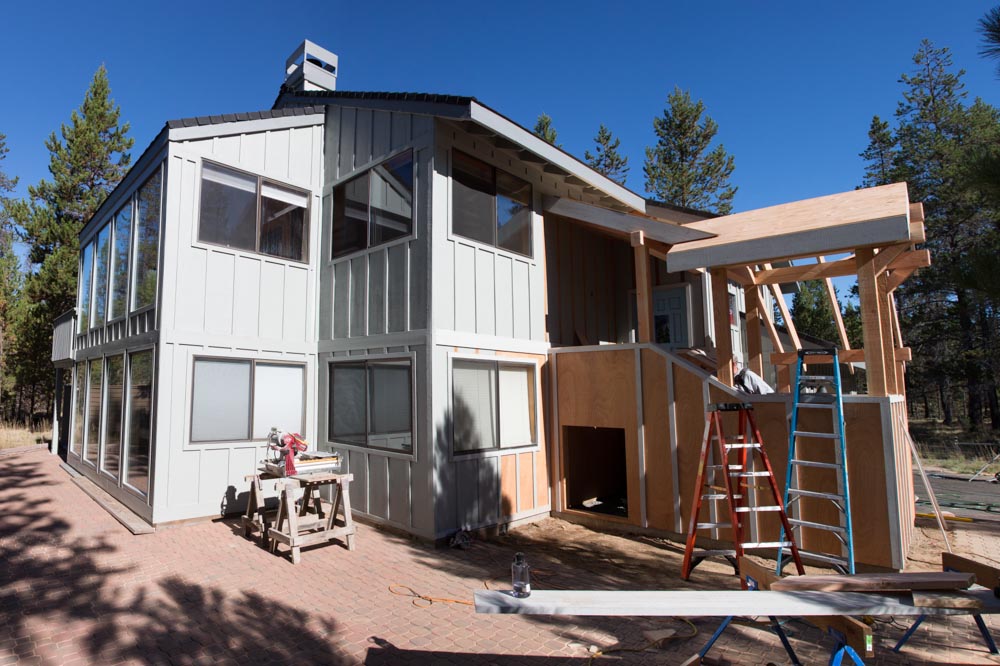
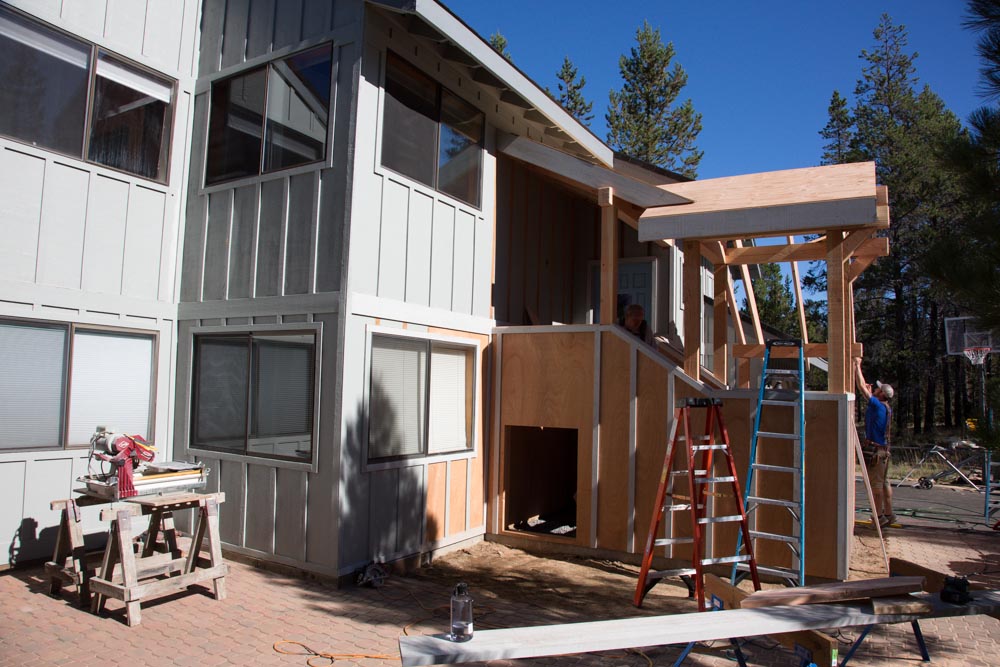
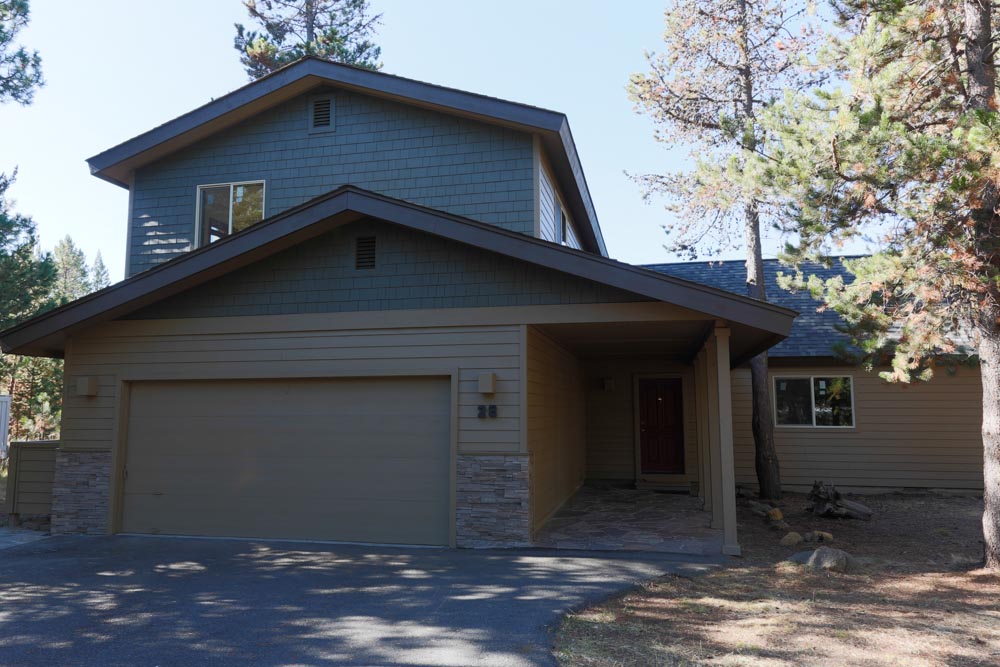
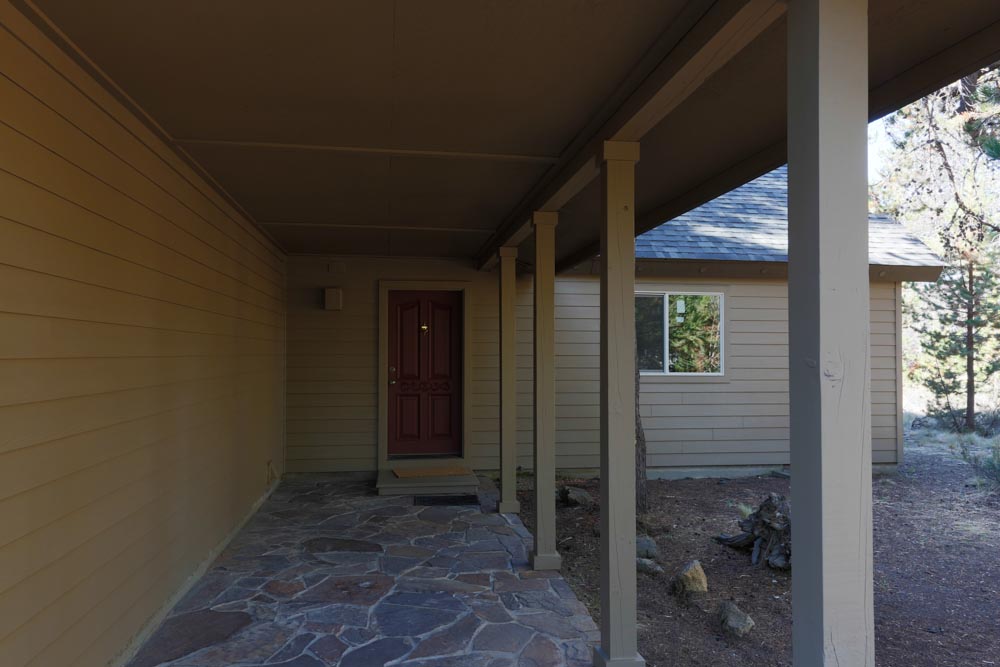
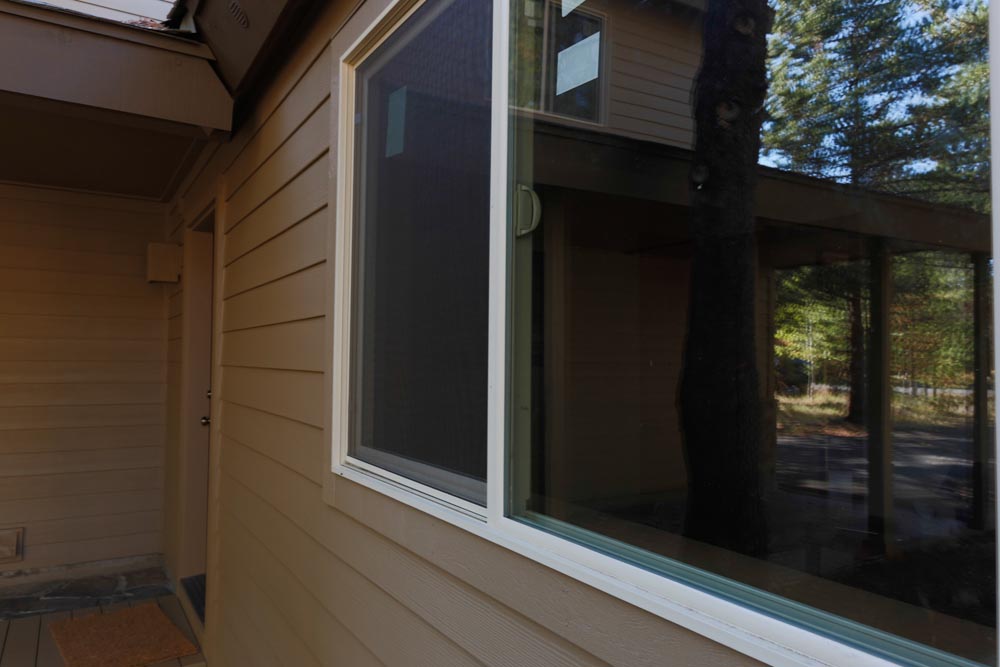
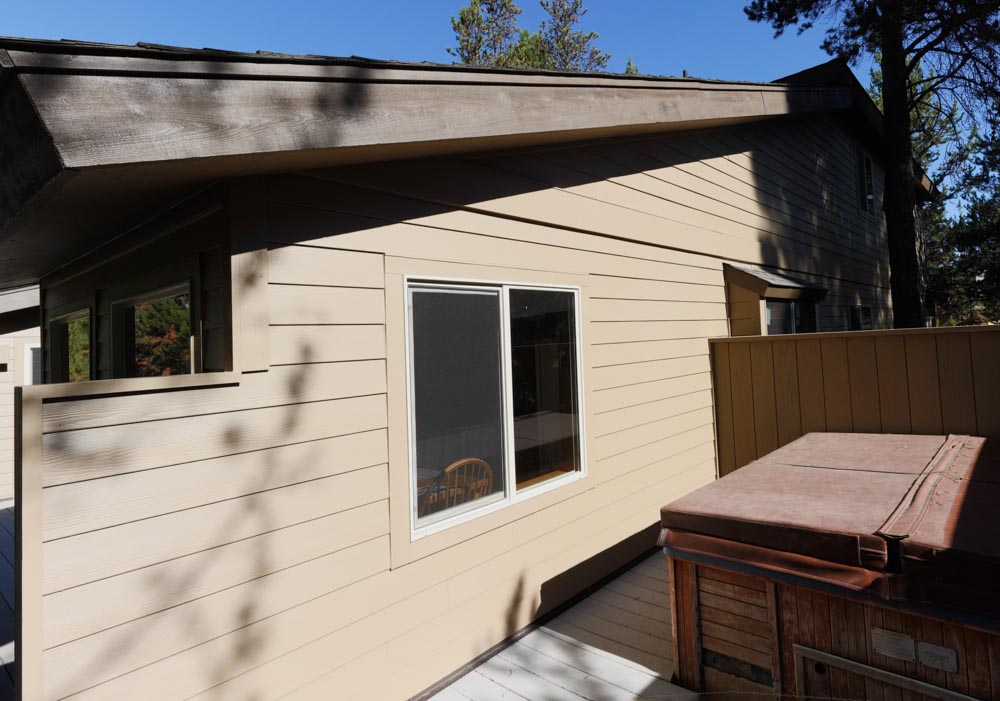
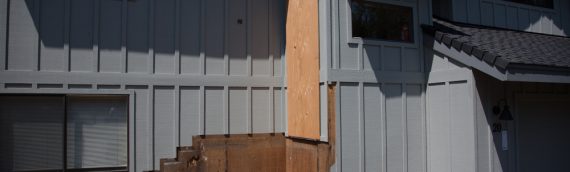
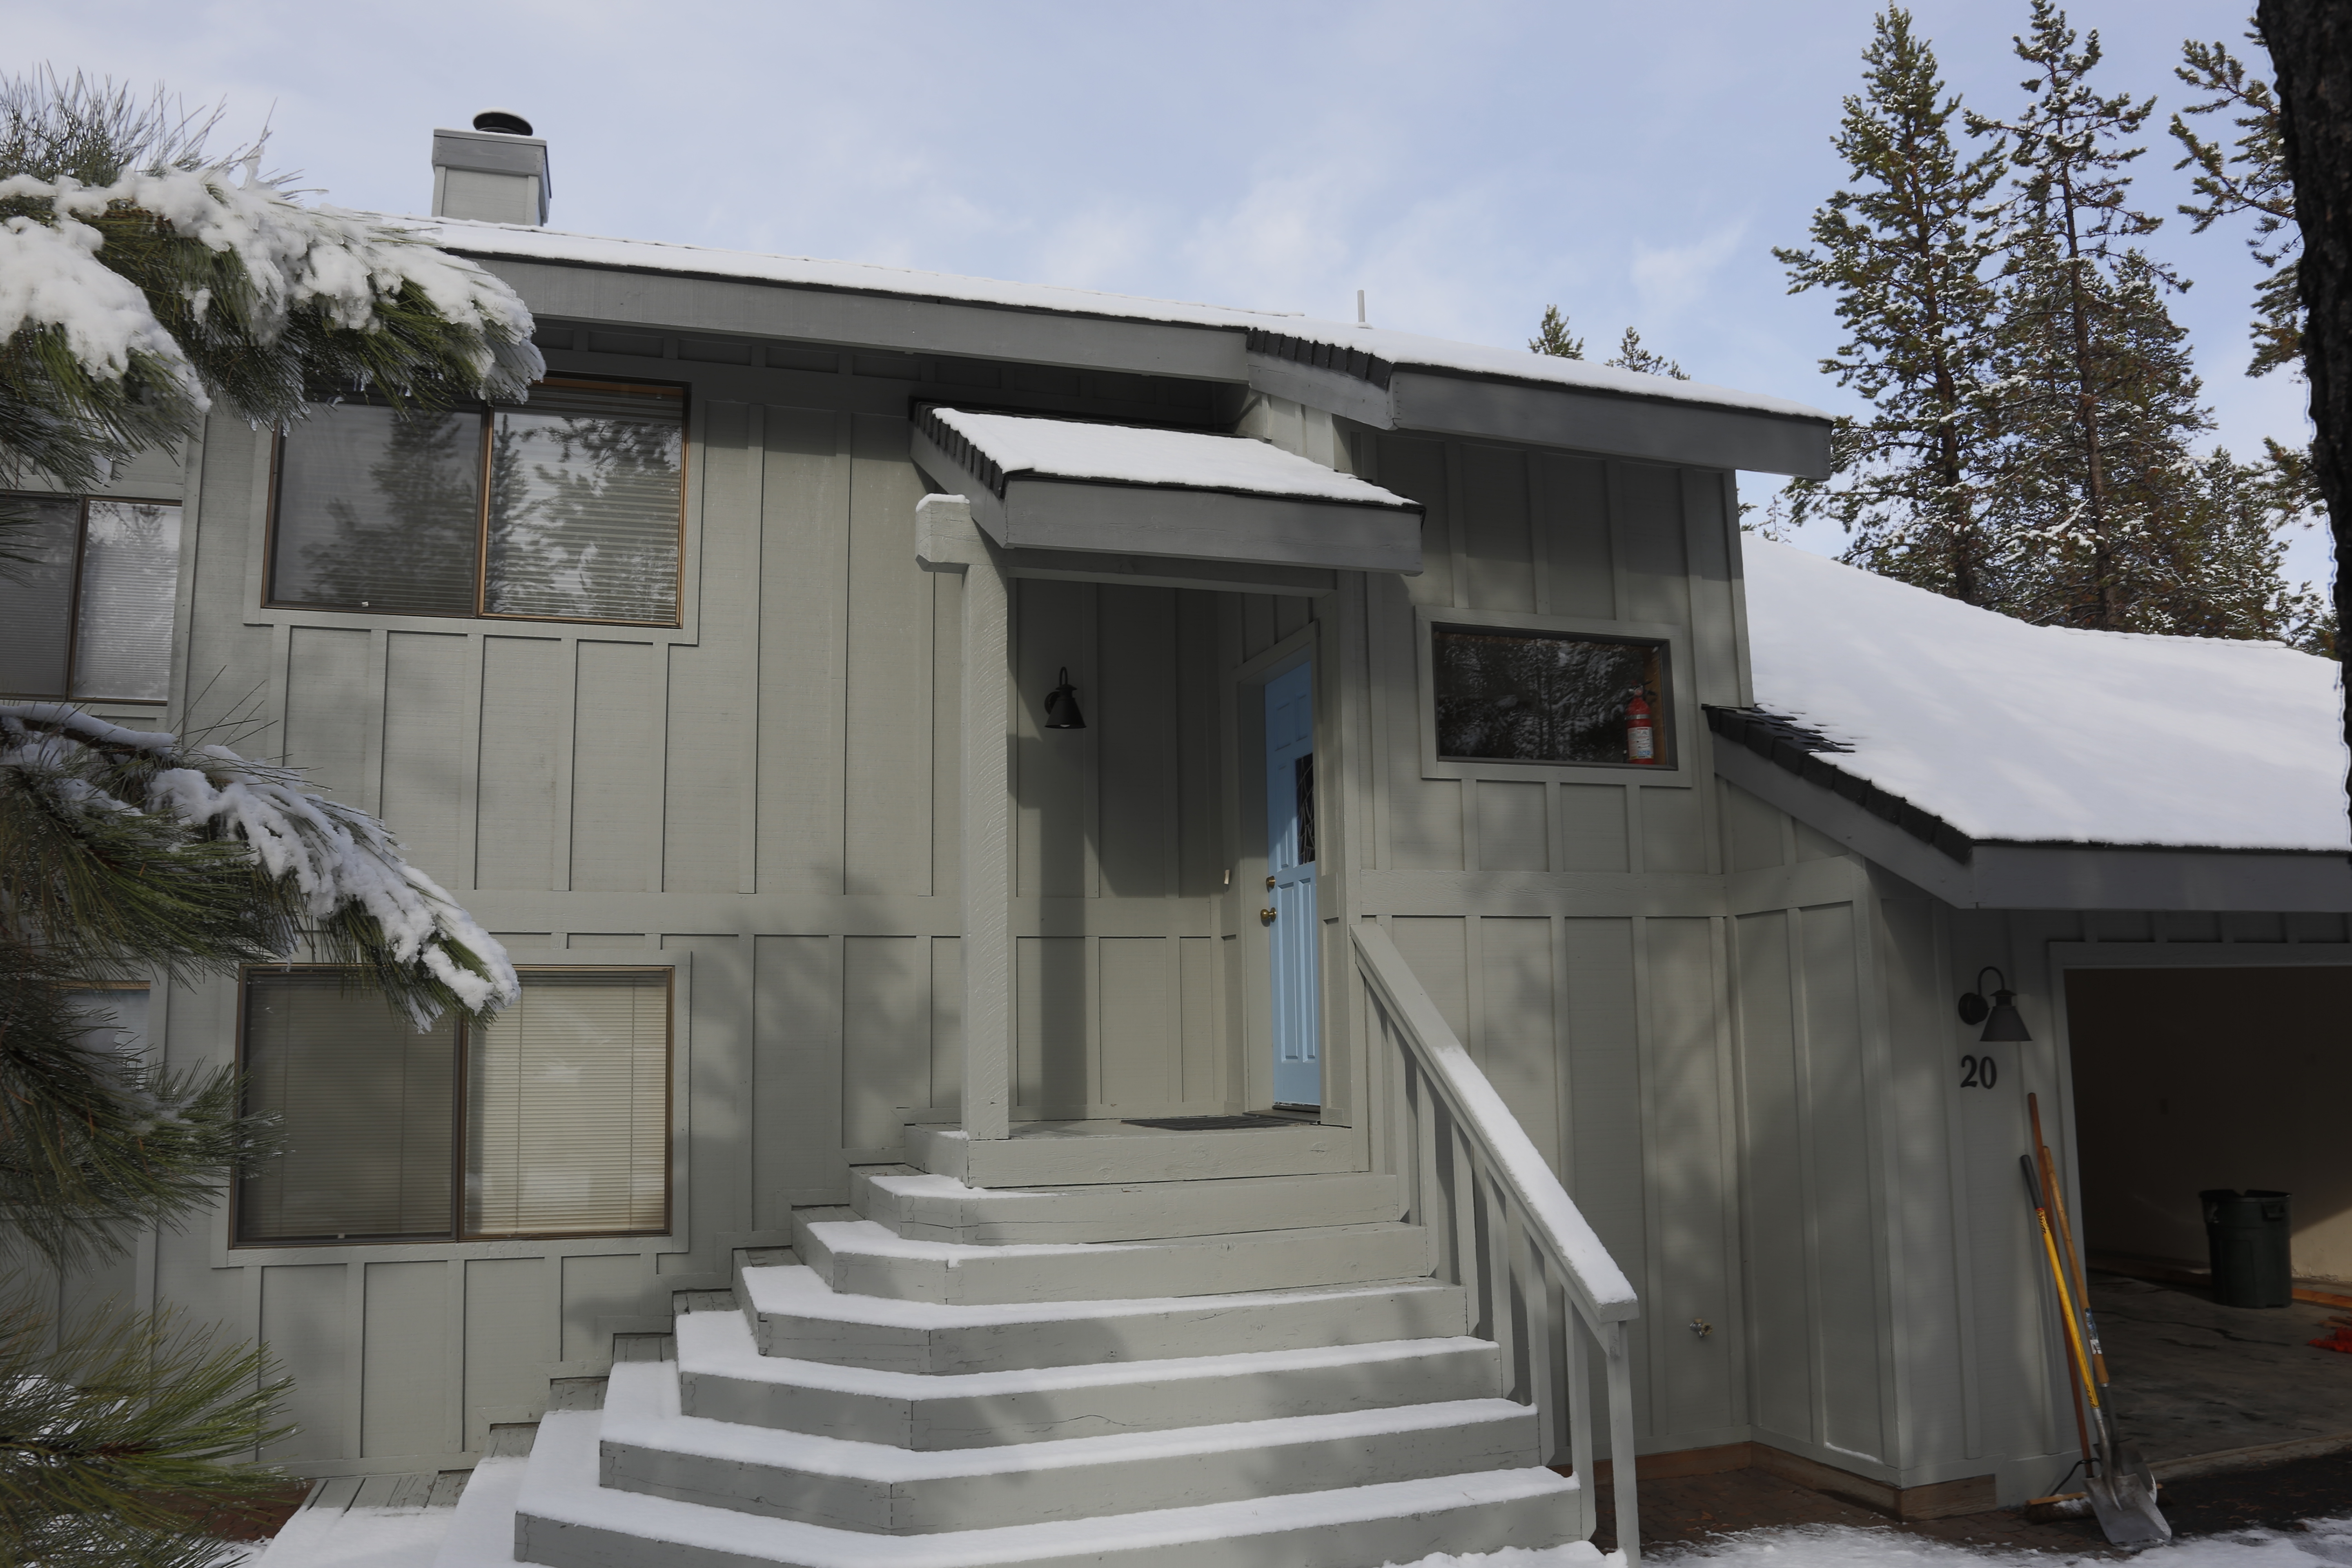
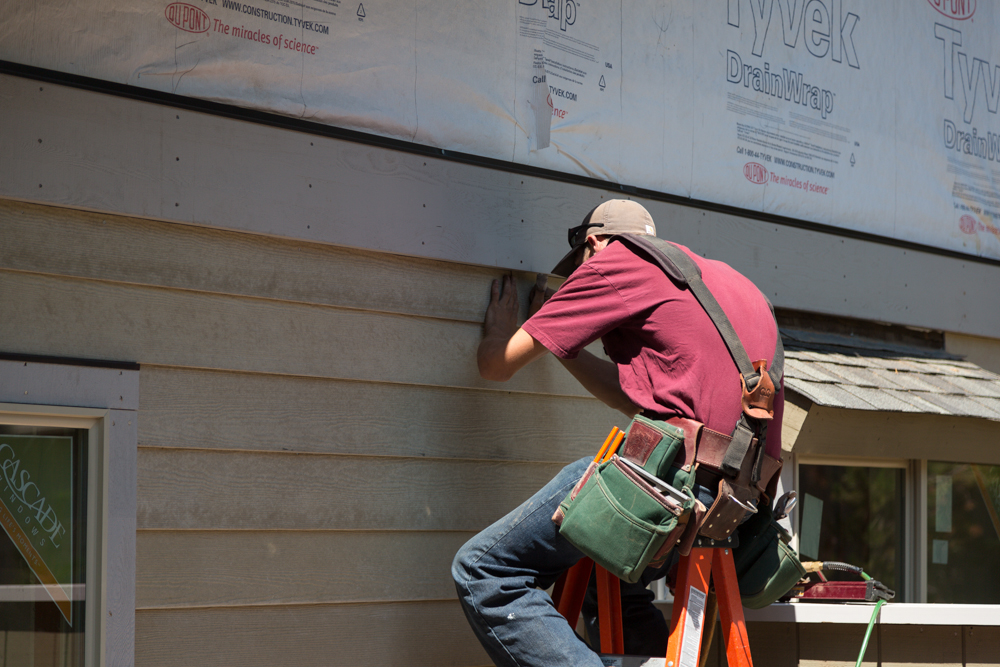
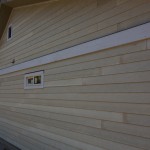
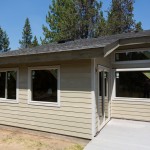
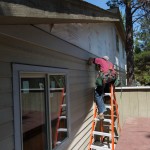
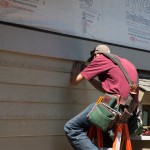
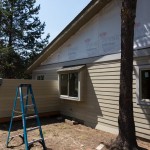
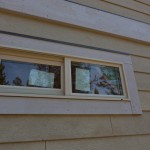
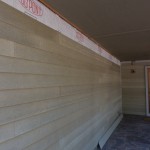
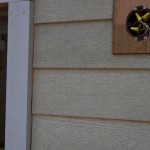
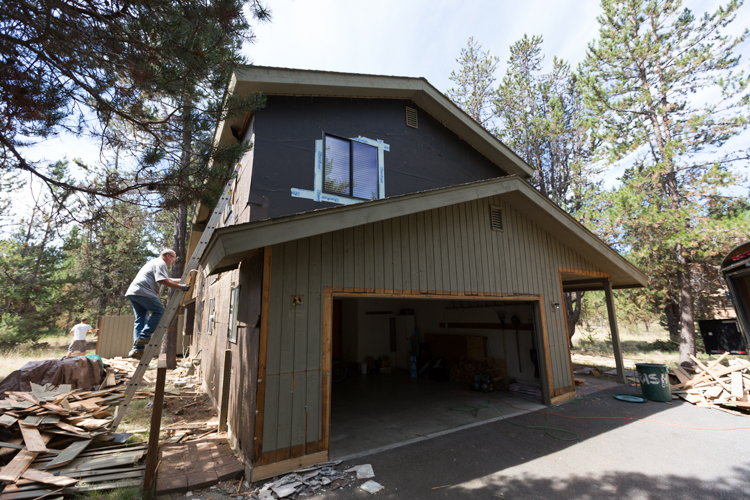
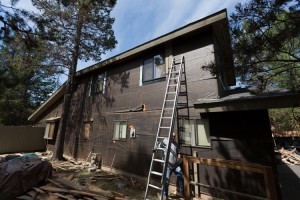
New Hardie board siding being installed on 28 Tolatee, in Sunriver. This photo is about two weeks in to the Sunriver Remodel in which we are replacing the siding and windows.
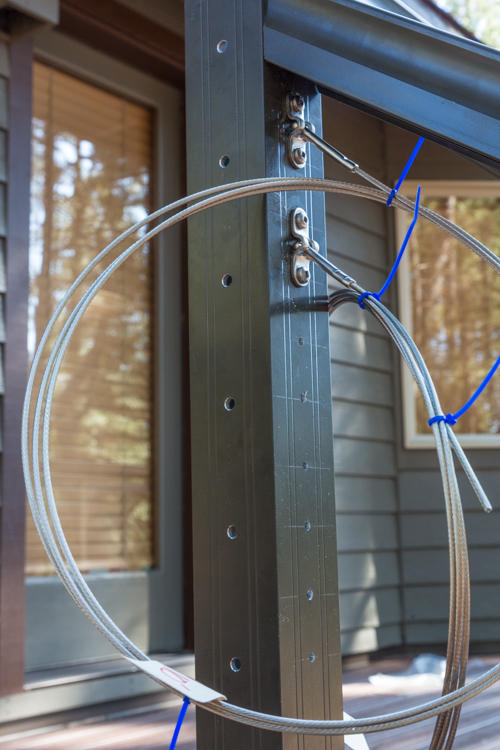
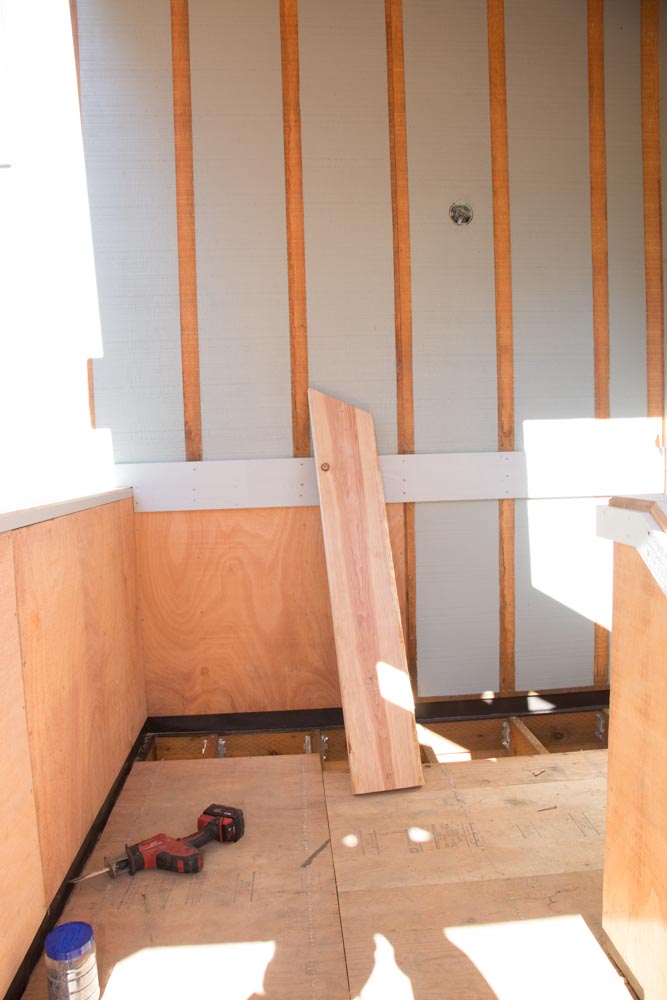
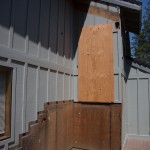
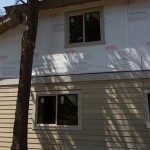
A weather resistant barrier, such as HardieWrap® weather barrier or a Dupont Tyvek product, should be applied to create an extra layer of moisture and wind protection. Most building codes today require it, in fact. 28 Tokatee had a siding barrier similar to 30# felt paper which is used on roofing. This was used 30 years ago, but doesn’t come close to being the standard now.
According to Energy Star, sealing the building envelope is one of the most cost-effective ways to increase the energy efficiency of a home.With this in mind, a weather barrier is a logical choice for builders and contractors. Tyvek’s products have been used on millions of homes in every climate and for every building facade to provide the best combination of water, moisture and air infiltration protection of any other secondary weather membrane.
Rick Kelley and his team are experts, providing installation expertise to help ensure your home is completely sealed. And, the Tyvek Specialist Network is a national group of highly-trained field representatives who have trained Rick and his team, and are available to assist us with your building needs. From the latest updates on building codes, to on-site consulting and training, your local DuPont™ Tyvek® Specialist will help you make sure the job gets done right. Tyvek weatherization products are also backed by a limited warranty from DuPont, a company that’s delivered innovative, reliable products for over 200 years.
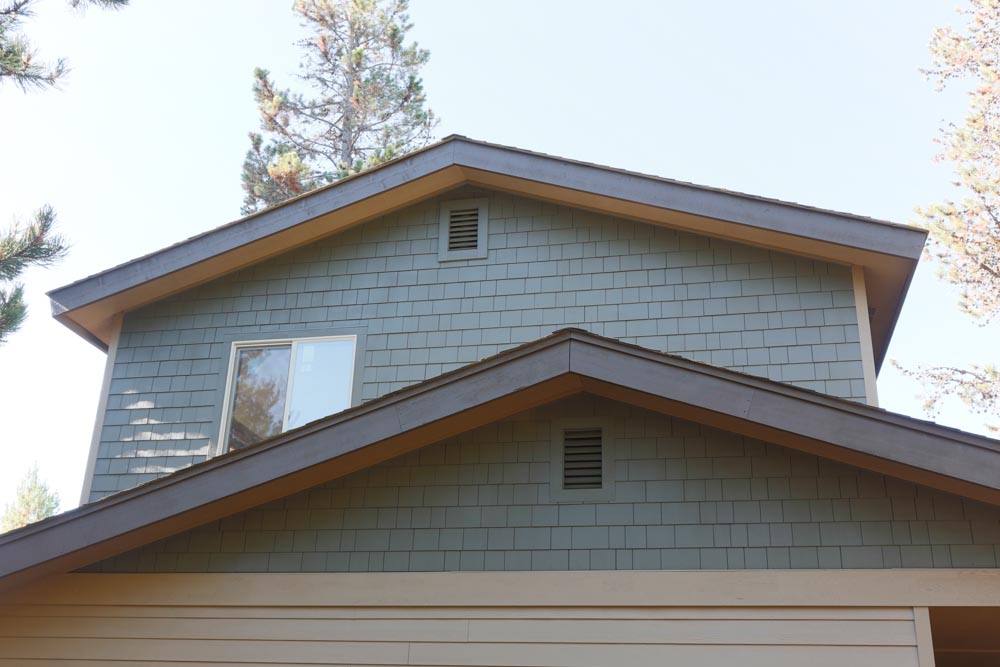
Next up on our plate is the installation of the Hardie Shigle siding. Hardie Shingle siding has the same warm, authentic look as cedar shingles, yet it resists rotting, cracking, and splitting. It’s beautiful as a primary siding or as a complement to other styles of Hardie siding, and it’s also Engineered for Climate to better withstand a home’s particular weather challenges. Our shingle siding panels come in a variety of decorative edges, and expedite installation when used in larger areas. HardieShingle individual shingles come in a selection of widths for an authentic handcrafted look and are also ideal for smaller coverage areas. Hardie Shingle siding is protected by a 30-year nonprorated, transferable, limited warranty.
We should be ready to paint in about a week or so!